Goodyear Connector gravel bike tire review 700x35


Goodyear Connector  Gravel Bike Tire 700x35 

Goodyear Connector 


Welcome to my review on a gravel tire from Goodyear called the Connector, the size I have is 700x35, various sizes are available, I purchased these through a website called Pro Bike Kit, very good fast delivery, and customer service seems to be very good. 

On my previous blogs you will see I’ve been after the Holy Grail of the Gravel Bike Tire, I narrowed it down to two possible contenders with the Goodyear Connector being one of them, not a easy list to make with so many tires out there, but the Goodyear Connector ticked my box for the Holy Grail.. price for a pair set me back £65.00 as I managed to find a online discount voucher to apply at the Pro Bike checkout.
The Connecter come in either the classic black side wall or the popular tan wall, on this one I’ve gone for the tan.


The Connecter caught my eye on the Goodyear website by the way the layers were shown on the photo above (used with permission from Goodyear) Goodyear state that there is a multi compound material layer that is added to the tire case, this allows for improved air retention while providing additional puncture and cut protection with minimum weight. Goodyear use a finer thread fabric, the 120 tpi casing uses less rubber, this makes the tire more supple and faster rolling, with improved traction, that’s what’s it telling you on there website, now don’t be alarmed by the “Less Rubber” statement, the 120 tpi is the clue, a mountain bike tire could use a 60 tpi casing, and a road bike tire a 120 tpi so you get a smaller thread, which makes for higher tpi and less rubber between the threads, that makes the tire lighter, more supple on the road, if anyone from Goodyear are reading this and can add more, then feel free to comment on the Comments box at the bottom of the review. 

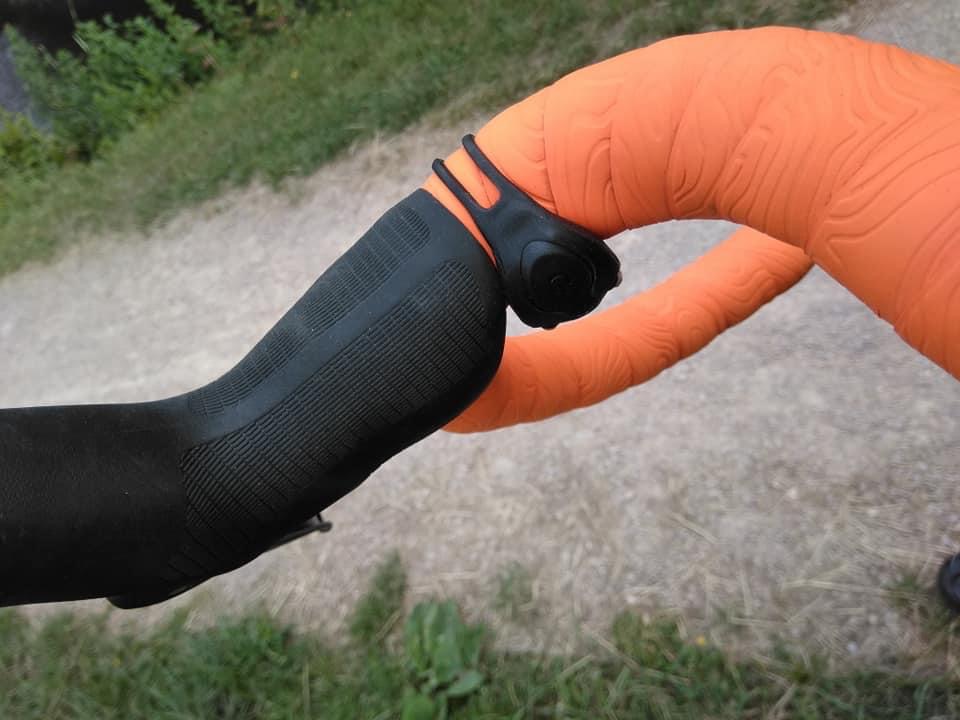
Sounds and looks impressive, that’s what I was thinking, I have found what I’m looking for, the “Holy Grail” of the Gravel Bike Tire! This is it, The One. The Ultimate Gravel Bike Tire....  Let’s get it on the bike and try it out, easy thing to do, off with the old tire, on with the new. 


The Goodyear Connector Ultimate is a foldable tire, handy if you ever go bike packing for days and want to take along a spare just in case.


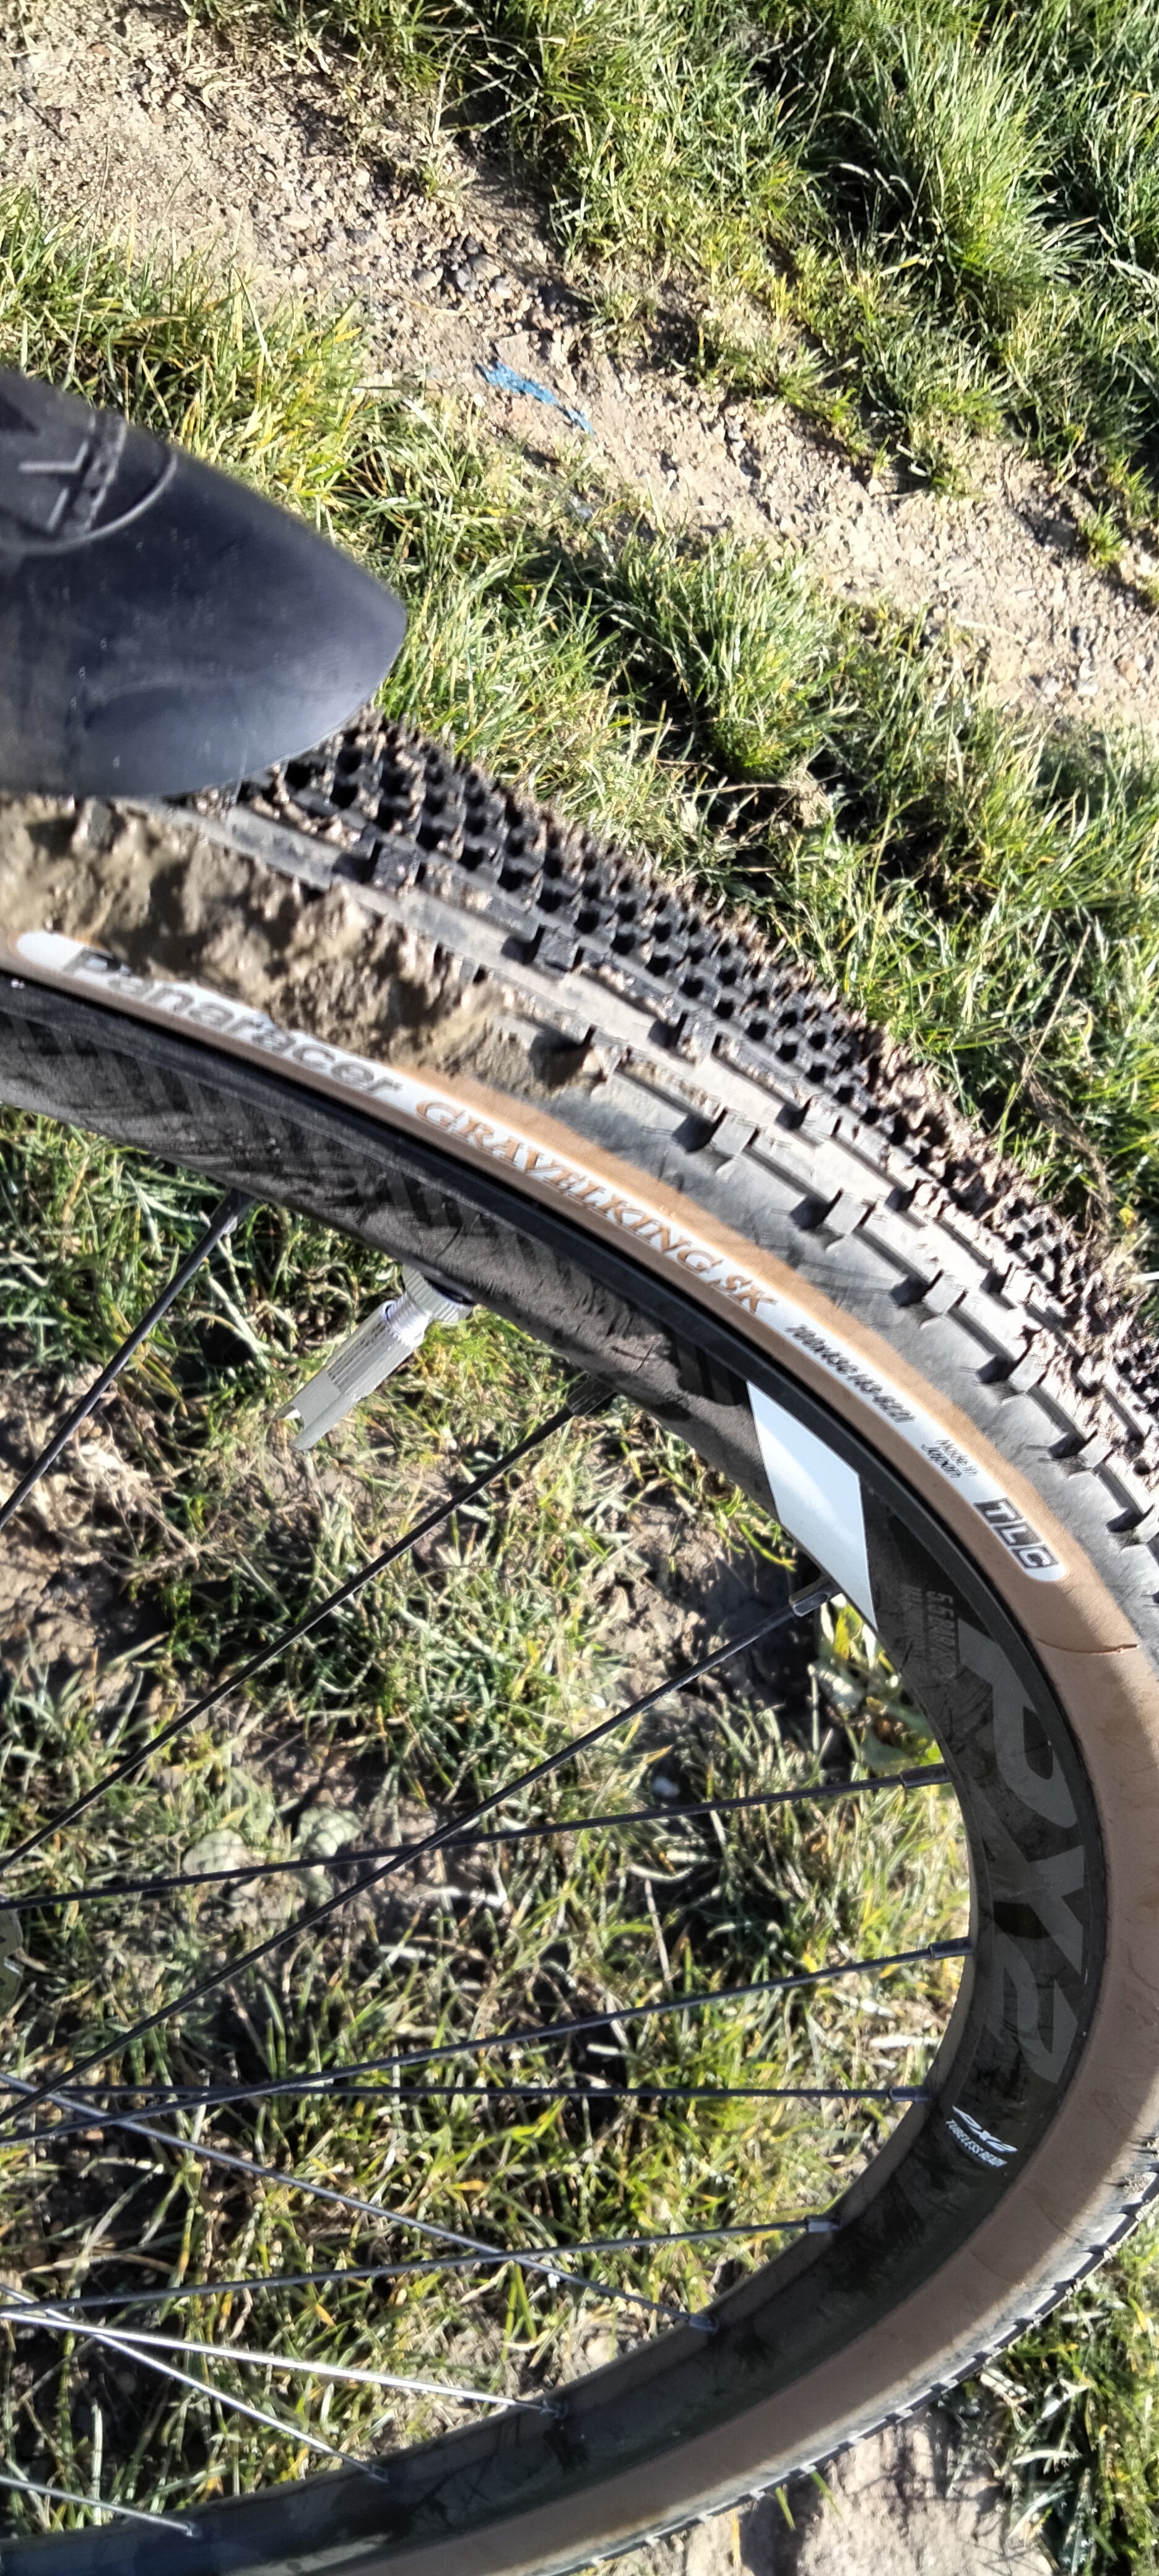
Finely spaced together centre knobs combine with the more aggressive side knobs make the connector a fast rolling tire on the road, with sure grip off road, I will be finding this out.  


700x35 on review here. 


The Goodyear Connector gravel bike tires are now both fitted on the gravel bike, I had them on for a couple of weeks now, the new larger pair have now arrived, so I’ll swap the smaller ones over, the 700x35 are great on the road, plenty of speed and good corner handling made the Connectors a good choice if your going mainly on the road with the odd venture off road, but I’m here to take it further, a lot further, I needed to find out just how good they are and ventured a bit further to find some good gravel tracks with bits of Oozing mud thrown in! 

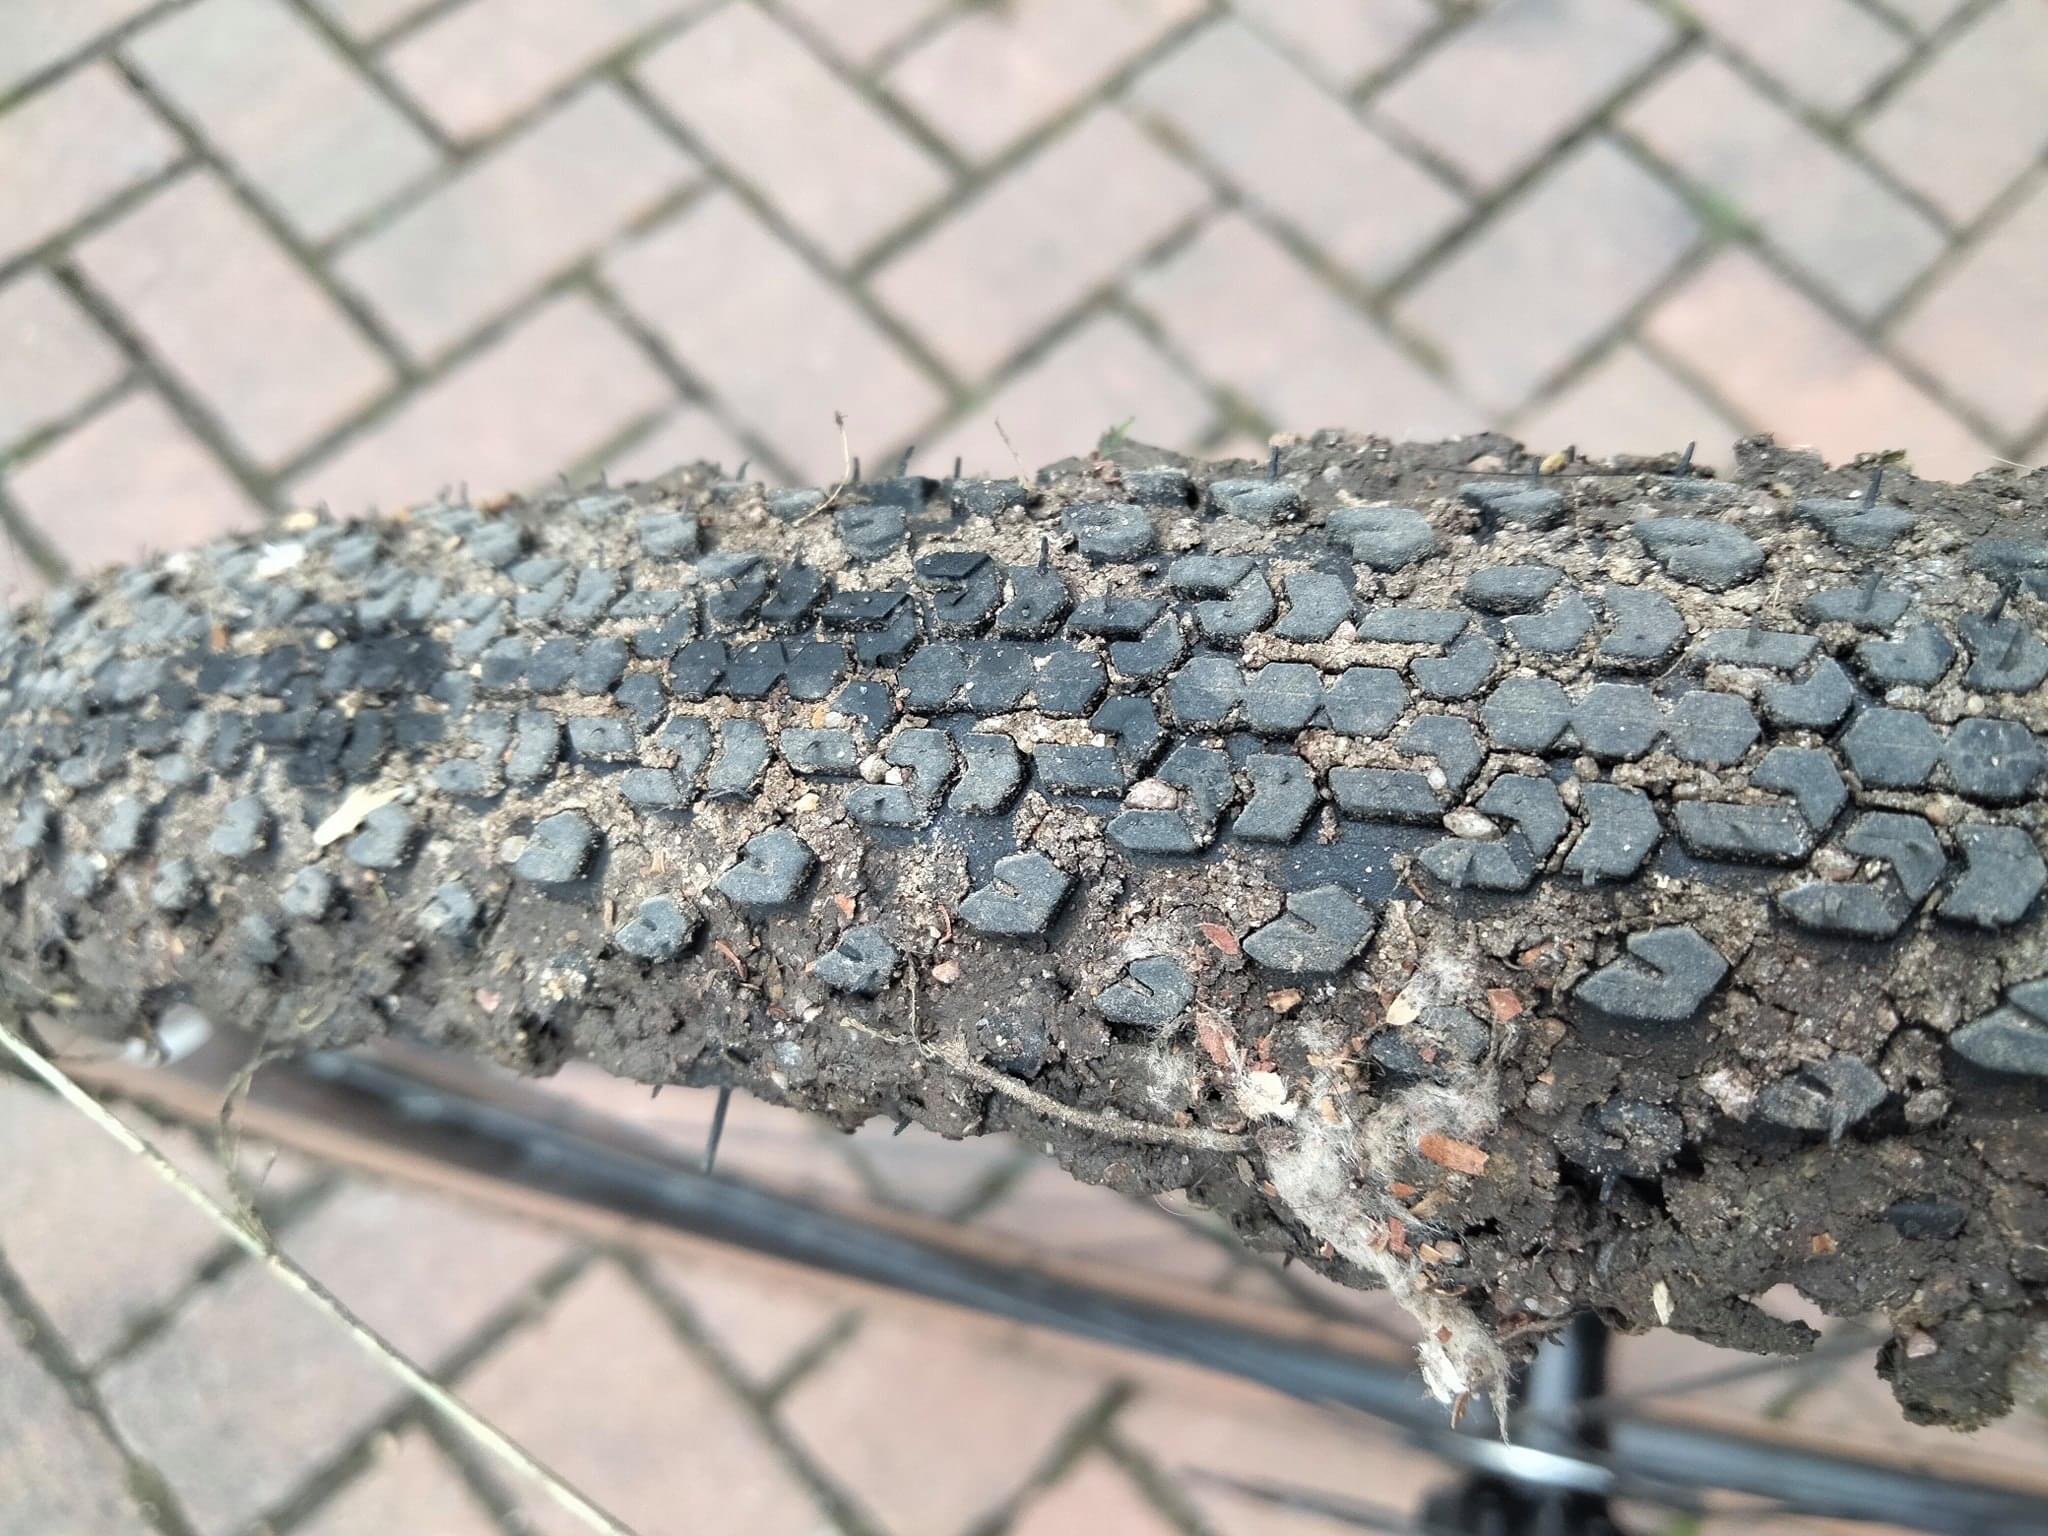
Good grip off road in the muddy sections. 

Tread patten seemed to hold the mud, but found this quick to clear once back out off the muddy sections and on to the gravel path. 

Pattern clears quick enough. 


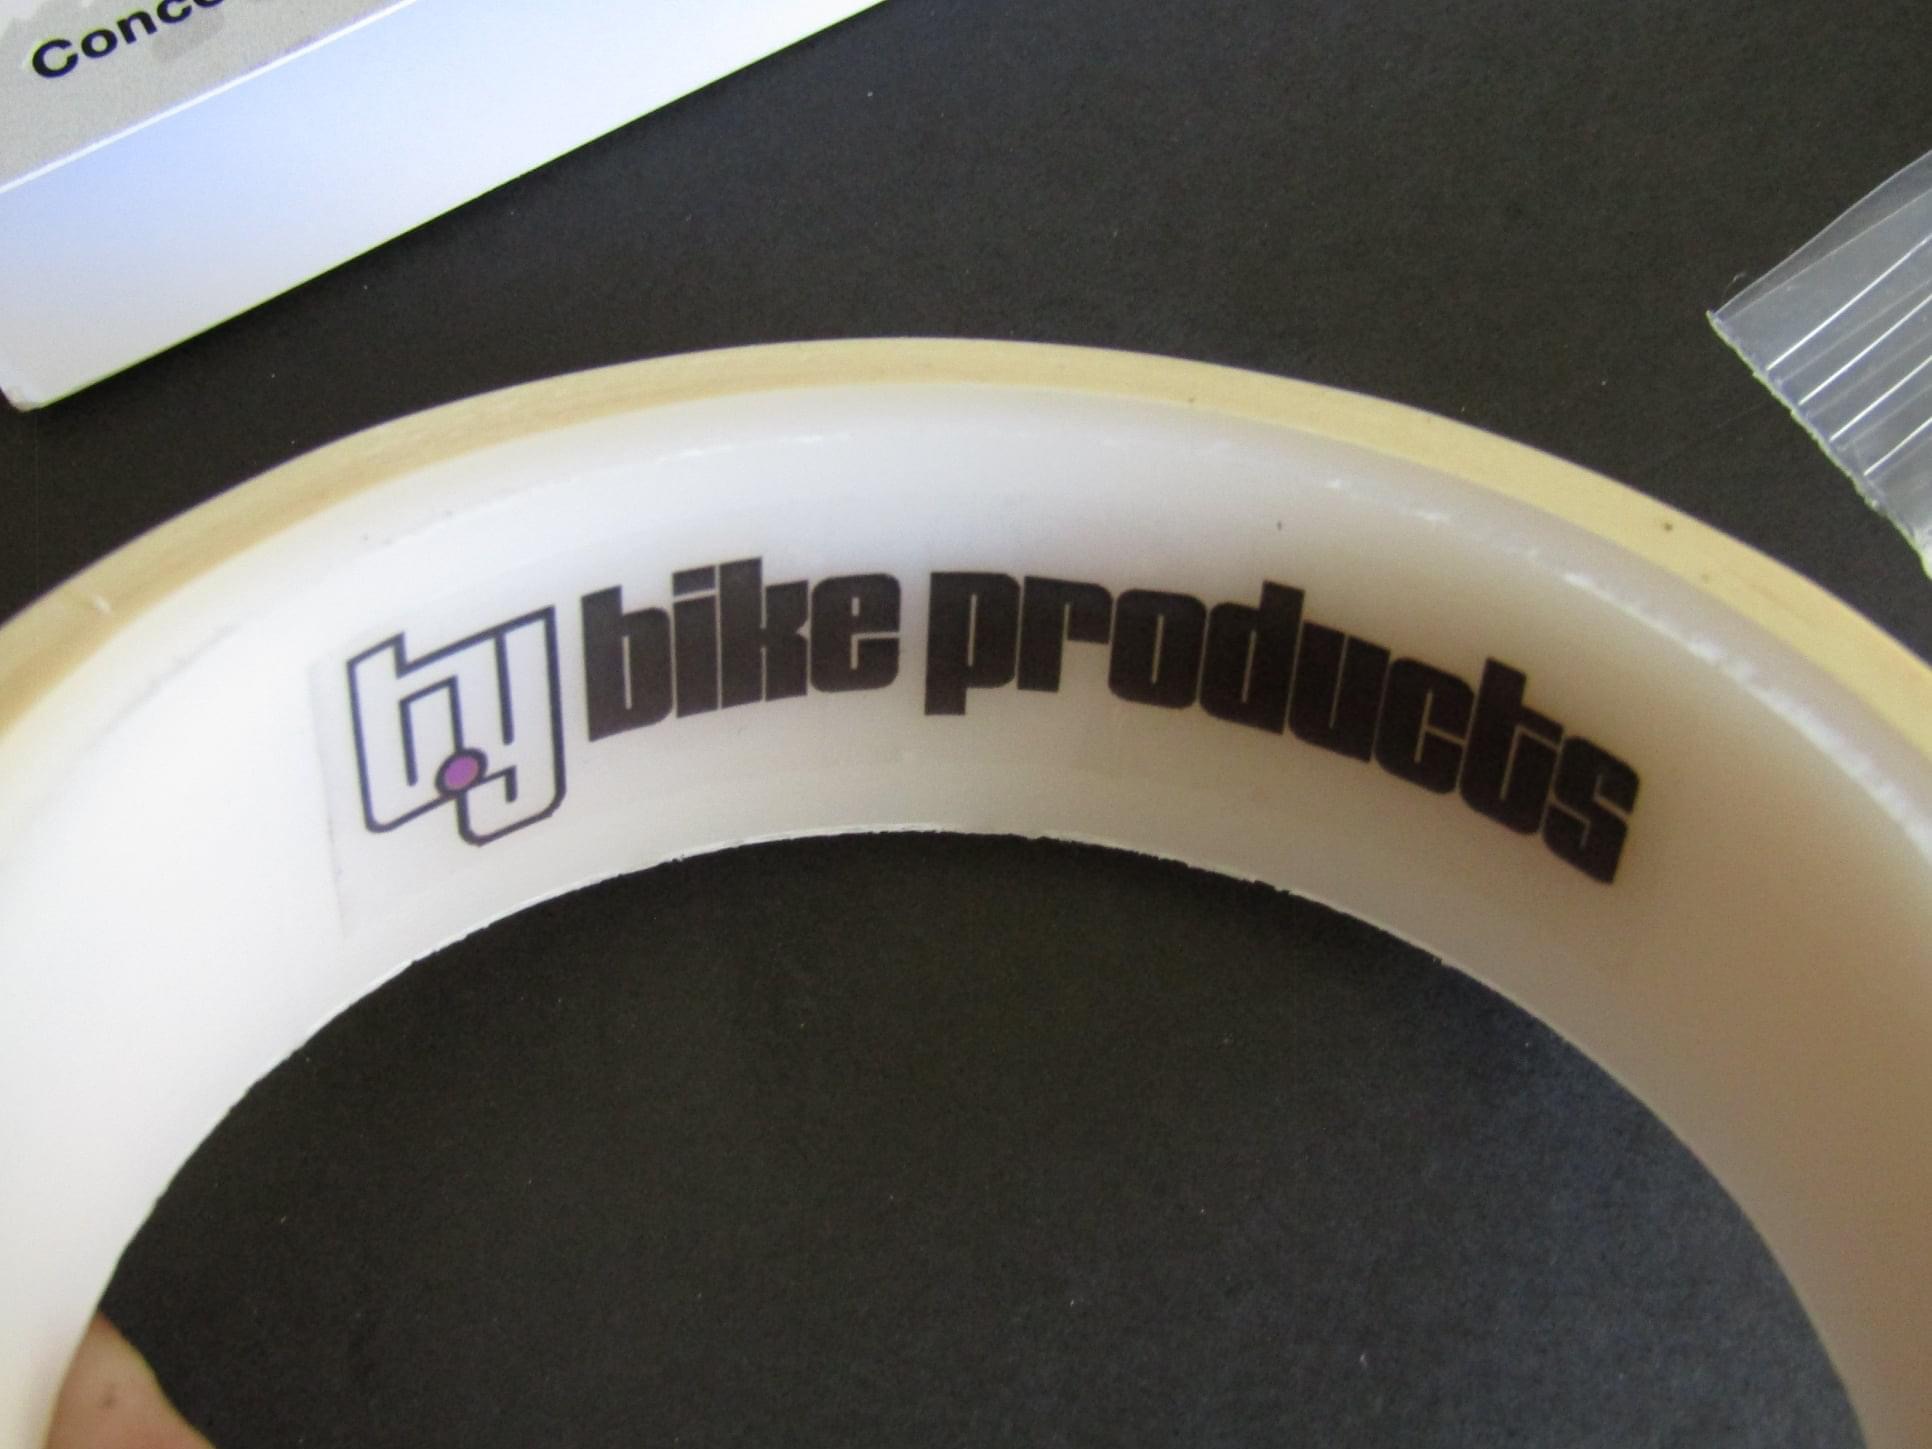
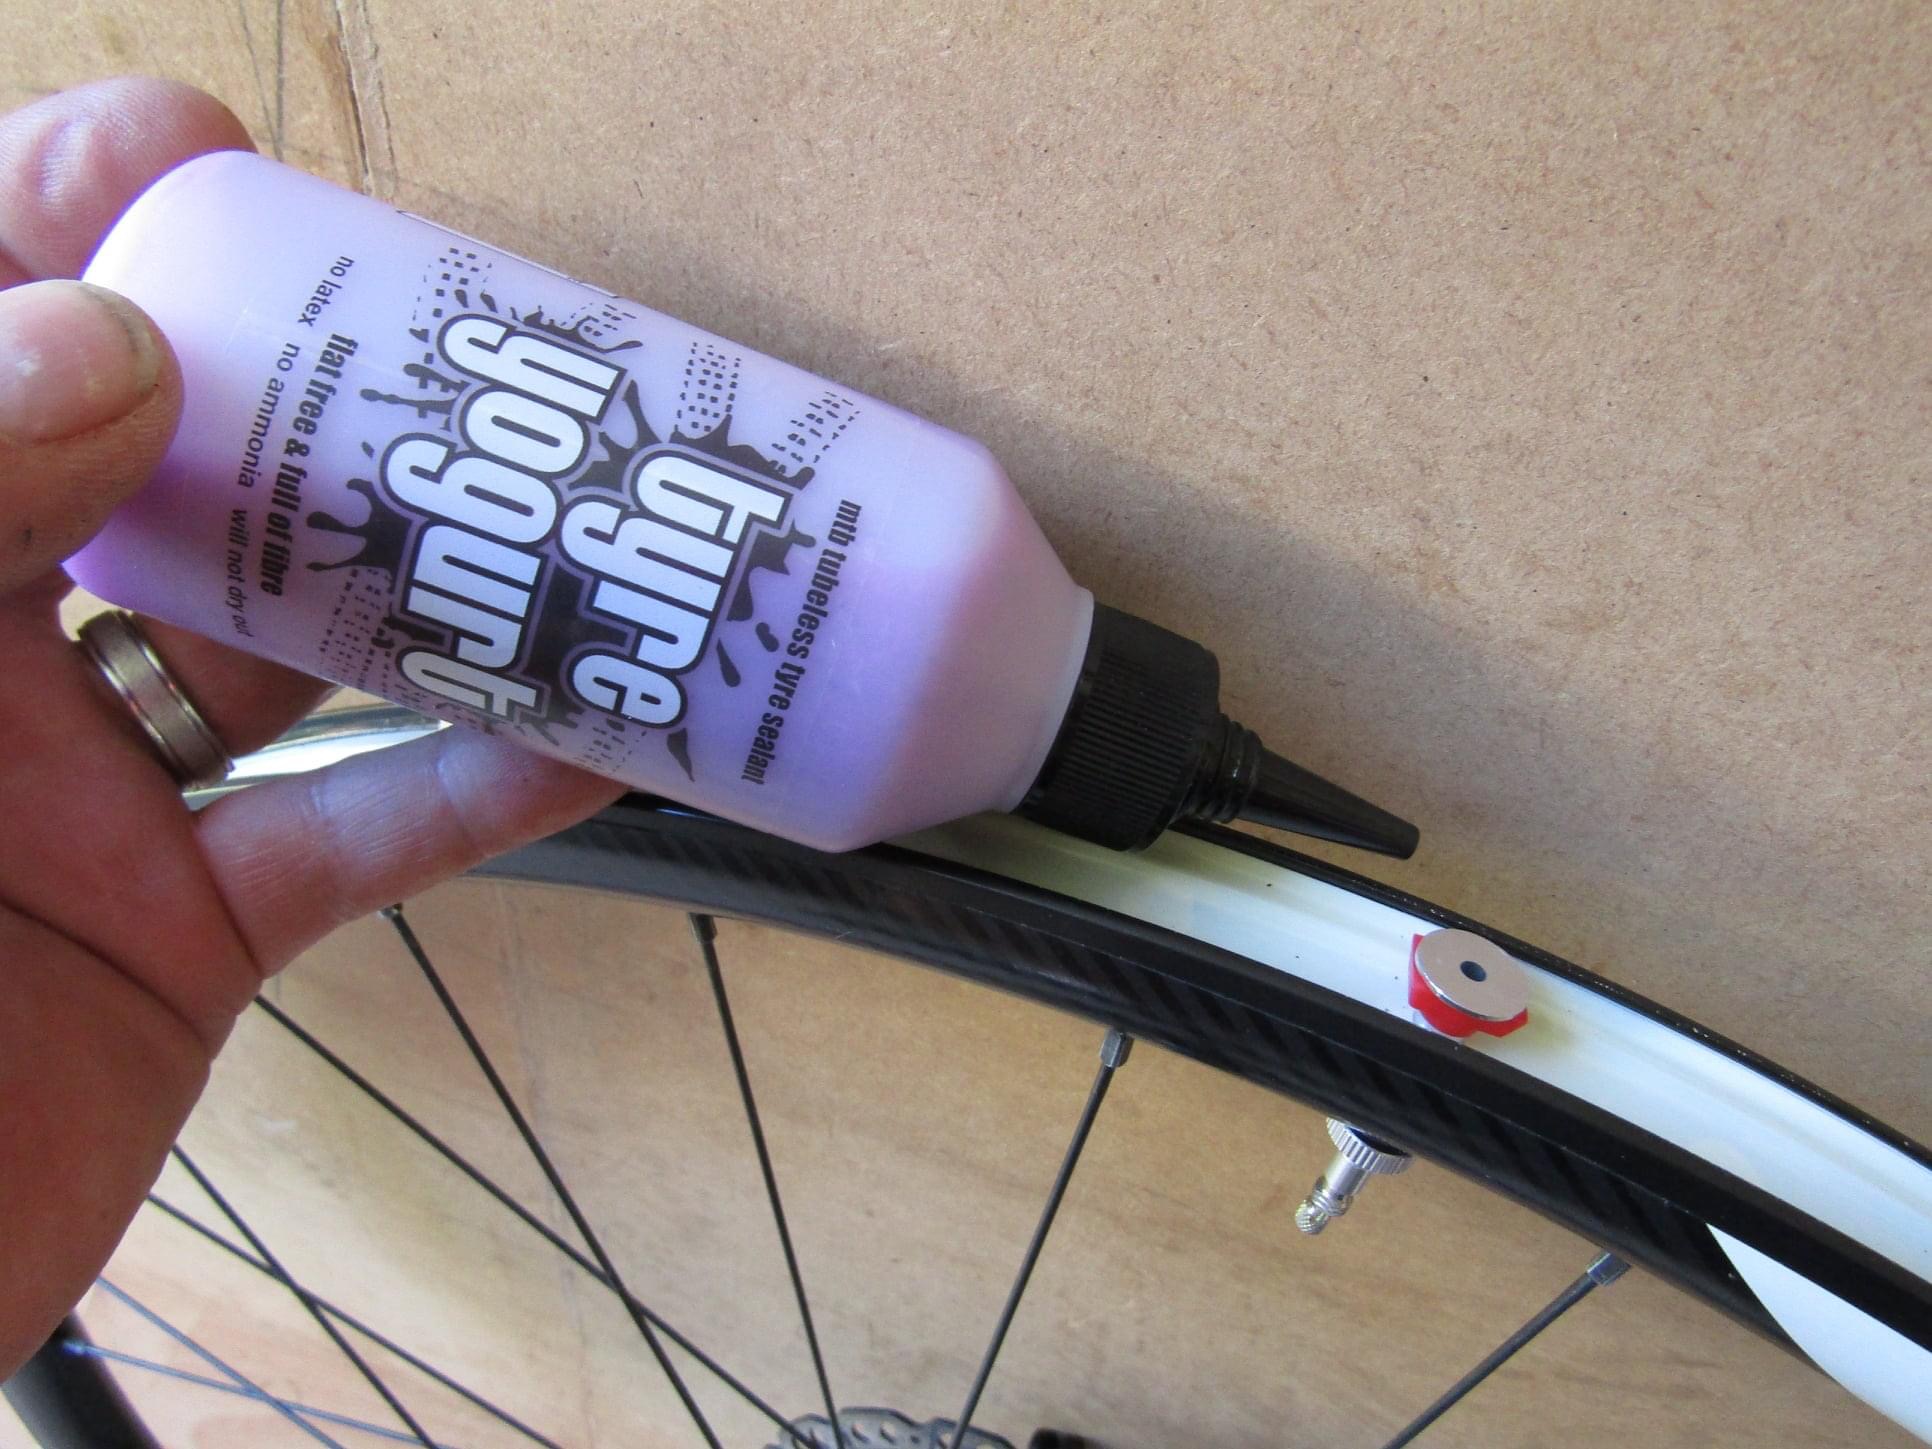
The Connectors handle all I put them through, no mishaps, punctures seem to be a thing long forgotten about, but could it be down to the Yogurt Tire Sealant from TY Bike Products.


Vibration from the Goodyear Connector gravel bike tire seem to be minimal, must admit I should have gone for the next size up as the replacement for the ones which were letting air out through the side wall, hopefully the 700 x50 size I have bought will not do the same… fingers crossed. 


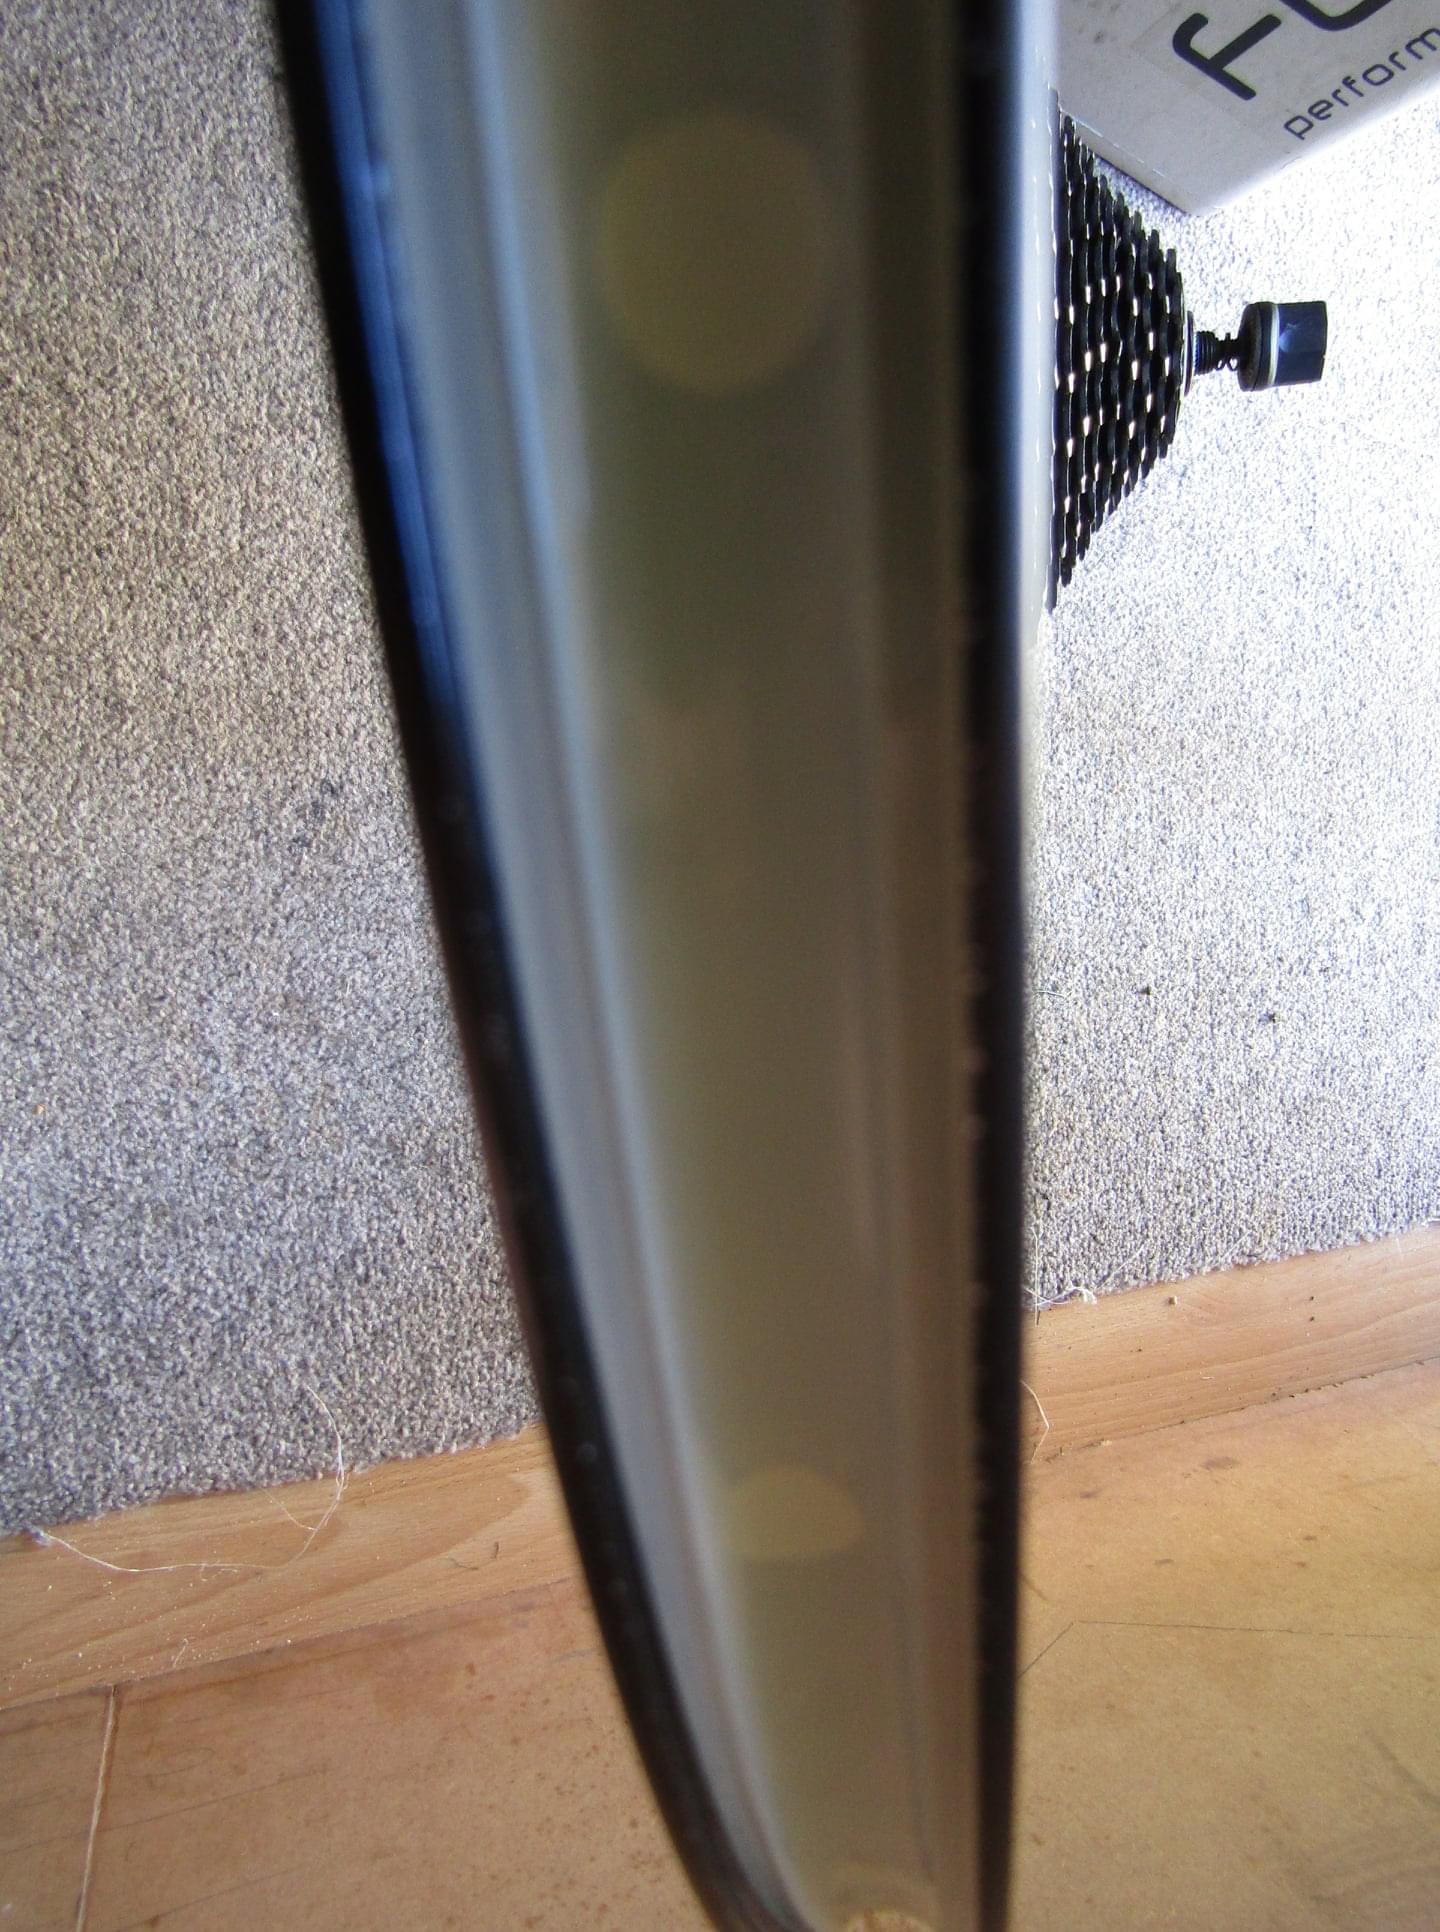
Air bubbles coming out from the side wall of the connector tires. 

The Goodyear Connector is a easy tire to seat on the rim, I found no real issues with either front or the rear wheel accepting the Connector gravel tires, the tubeless tire sealant is by TY Bike Products called Yogurt, (see my tire sealant review ) with the replacement set of tires I bought, the pressure in the tires I put at around 40psi, ideal for the road ride, or that was my thinking… both tires held the pressure with no loss over night on the first fitting. 

The great thing about the gravel bike is one moment you can be a road cyclists, and the next a off road adventure cyclist, with mountain biking in between, and that is where the Connector sits, capable of getting you “PB’s” on Strava segments one moment, then tackle any off road segments you fancy from mud to hard packed gravel, the tread pattern features tightly spaced centre knobs which gives you the fast speed on the road, and spreading out to the wider spaced side knobs to give you the grip on the gravel and mud. 
As you can see from the photos I have been out testing the Goodyear Connector gravel bike tire and the tire sealant, Next ride I do I’ll be lowering the tire pressure to find out how well they cope with the road buzz and grip off road, 

My Verdict so far.. 

I like them, they feel fast and sure footed both on and off road, plenty of grip, I’ve still got more do with the Goodyear yet, but I need to change over to the larger 700x50 so I know that they are ok with no more air leaking from the side walls, something that I was very disappointed in seeing, a replacement set was found and they were ok, but having bought a new set of a larger size,  I will need to try them out before the return date is passed! 
Watch this space, Pro-Bike, Paligap, Goodyear. 


UPDATE 10/11/2021

Awesome set of Gravel Tires! 


A quick blast around the Harlow MTB Course at Rundel's Woods, the trail was a bit over grown, not surprising really as its had a year to grow back as nature intended! 
Impressed with the tires, good grip on the real muddy sections that even a MTB bike would struggle with, the Yogurt Tubeless tire sealant is far superior  to anything else I've tested! 
Highly recommend the Connector  in the 700x35 size.. 

UPDATE: 29/01/2022.

Really happy with the Non visits from the Puncture Fairy, is it down to the added TY Bike Products Yogurt in the Tires, either way, if that's the case its a great set up, not even had to add any more TY Bike Products Yogurt, It is "Honestly The Best Tubeless Tire Sealant I've Have done a Review on" 
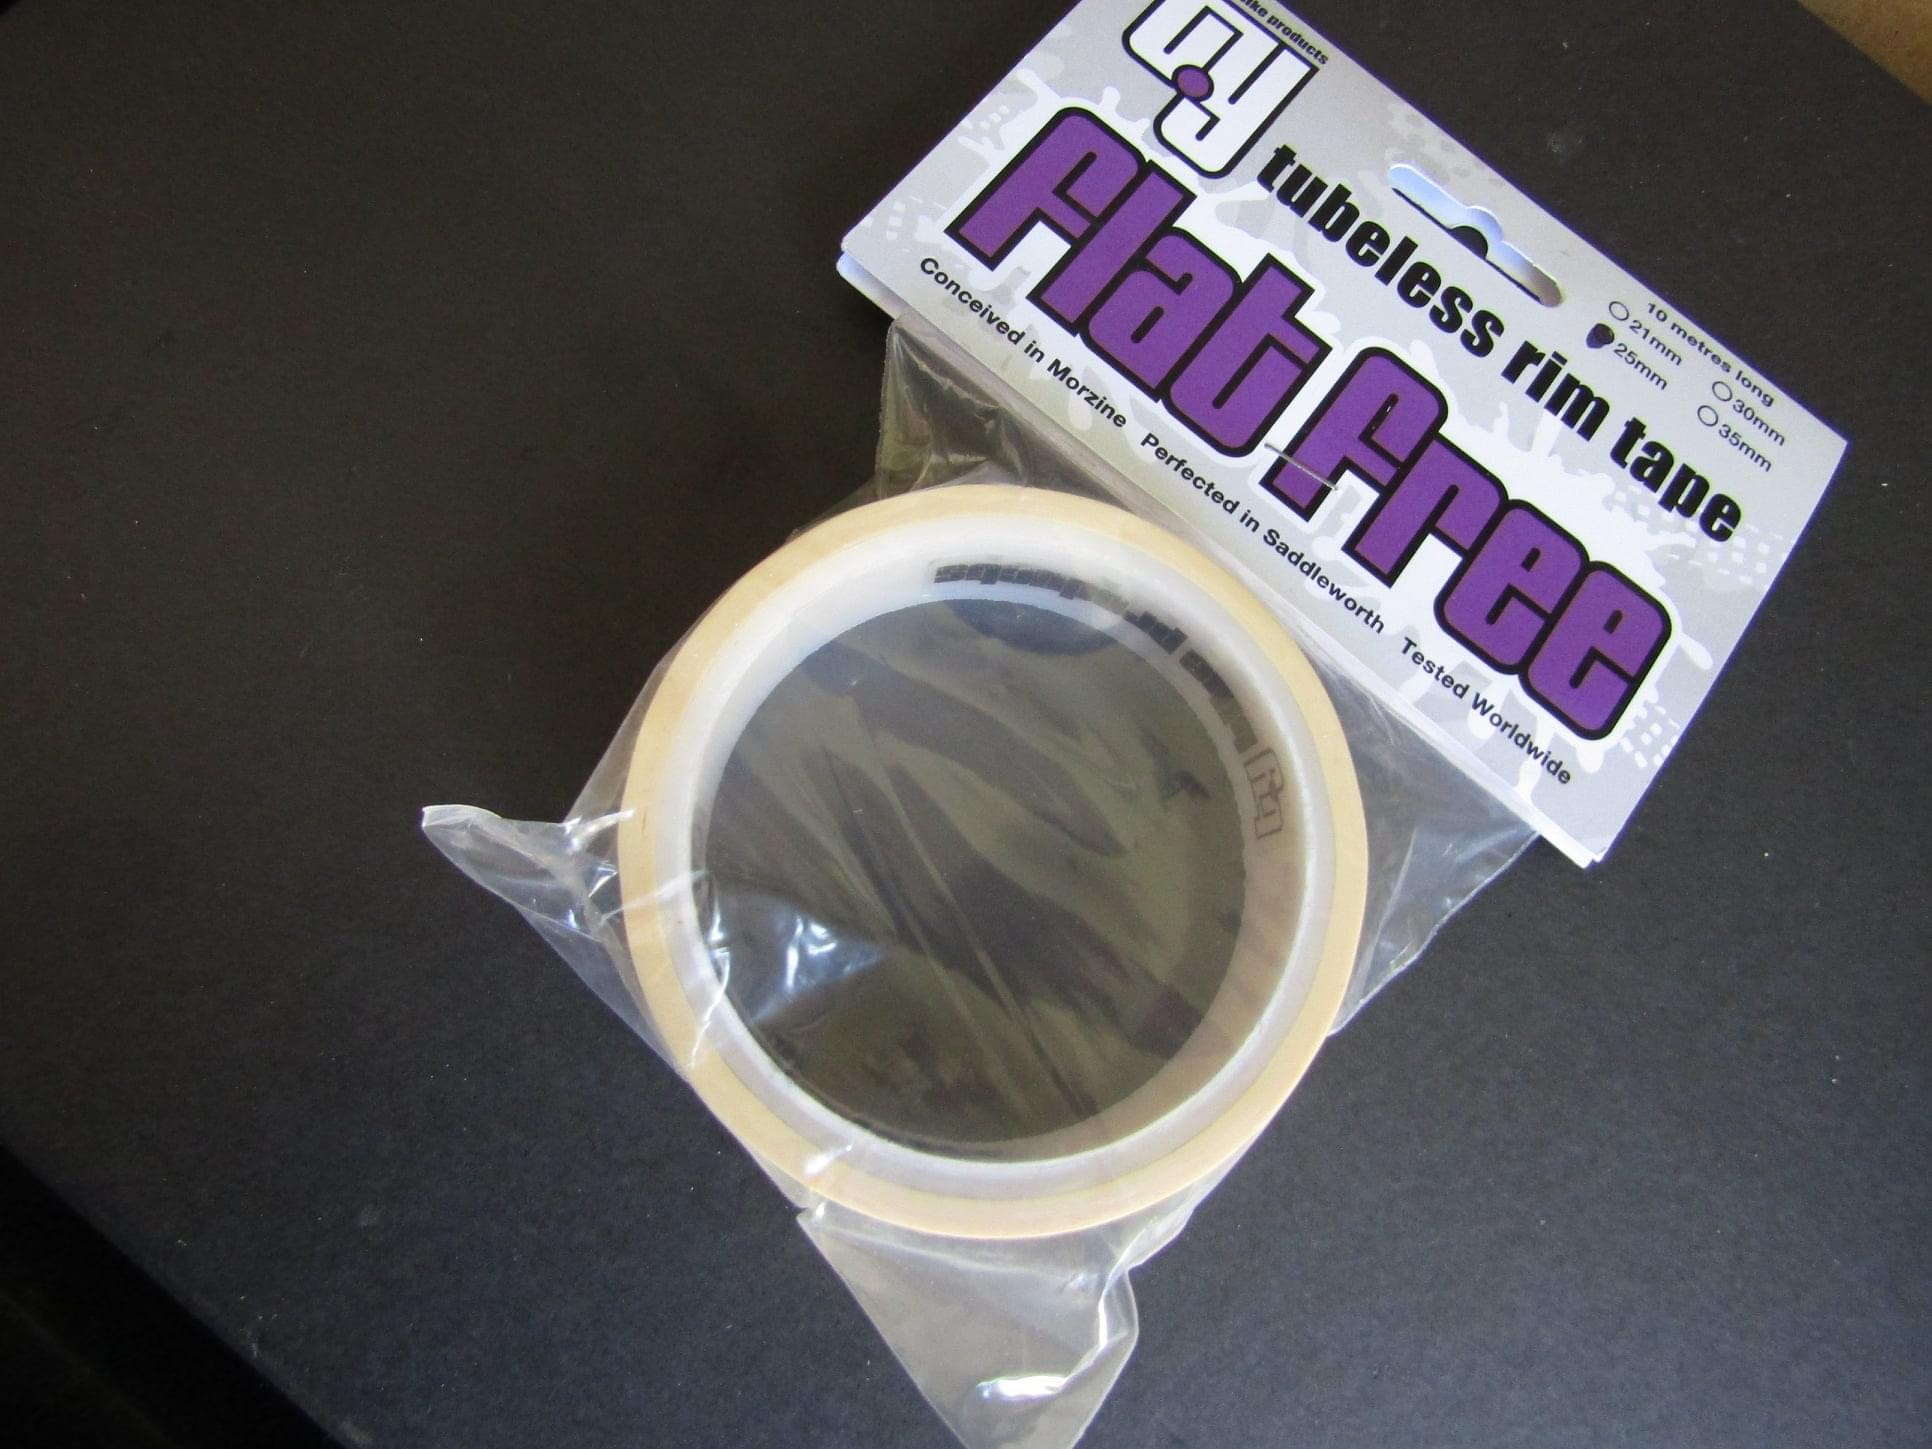
If you want trouble Free Tubeless Cycling check out the TY Bike Products Website, they also do brilliant Rim Tape and more.. 


Save 10% by going on line.. 


Please Feel Free to Support Our Sponsors Adverts. Thank You. 
Foot Note This is not a Paid Advertisement for Goodyear Probike, or Paligap. 
Harlow cycle page on Facebook: https://www.facebook.com/Harlow-Cycle-Page-805601672891539/ YouTube: https://www.youtube.com/channel/UCBlXmH7f4X0Az_xr7Az0Yqg : 
Instagram https://www.instagram.com/harlowcycle/ 
Tumbler : http://harlowcycle.tumblr.com/ 
Twitter Feed: @TDF79 
Linkedin: https://www.linkedin.com/in/harlow-cycling-b785a1105/
Pinterest: https://www.pinterest.co.uk/Harlowcycle/pins/ Email: HarlowCyclingPageGroup@Hotmail.com ....................................................................................................................

PassPixi Camera Warning Patch review.


PassPixi


On my review here for you all is a Camera Safety Sign that is very simple in it’s simplicity, it came to me from another cyclist in my Harlow Cycle Group Yasmin, she passed this to me to me with the idea I give it a try and a review on the sign, and this is my verdict on the PassPixi ......


PassPixi Camera Warning Patch. 


PassPixi is made out of ............A square magnetic sign of a Camera .. on the four corners are very strong Neodymium magnets, and we all know about how strong Neodymium magnets are don’t we, no, oh, well in that case, Neodymium magnets are the strongest permanent magnets commercially available, anywhere in the world. They provide unparalleled levels of magnetism and resistance to demagnetisation when compared to ferrite, alnico and even samarium-cobalt magnets.
The idea of the magnets is simply attach to the material you want to have the sign stuck to, in my photo I simply placed my cycle jersey on the table, placed the sign on the back, straighten it up and adjust before I placed the fitting magnets on the inside of the jersey, the magnets are strong, very strong, so be carful to keep them apart until you need to attach them to the sign, strong enough to go through your jacket, saddle bag, panniers. On one attempt at trying the magnets I had to get a sharp knife to separate them, so be warned (if you do have to use a sharp knife please do take car, we don’t want anyone hurt) it’s not a recommendation that PassPixi suggests.... 

Place PassPixi on the jersey. 


Once in place on the Jersey I found after a while I completely forgot all about it until I sat down on a bench a few hours later on a ride!

Prominent Camera sign.

Size is 120 MM by 120 MM.

Strong Magnets keep the PassPixi in place

Priced at £8.99 plus postage for the 120mm sign.

On The PassPixi website they say to drop them a email if your ordering multiple signs, great for clubs etc. 

Contact information 
Website 

PassPixi on Twitter 
@ PassPixie 


PassPixi also have other sticky signs on there website, which would be ideal if you cycle using a cargo bike etc, check it out. 


Photograph credits go to PassPixi for the above two photos. 

My Verdict.


I placed the PassPixie on the rear of my cycle shirt, to be honest I forgot it was there until after a couple of hours when I got the bike to sit on a wooden bench, then I remembered it was there, but out on the ride I didn’t get any real close Pass, so maybe it was doing it’s job of getting the motorist to maybe think before they just passed by only only leaving a small pace, was it the sign that they might be appearing on camera!

A much better place to keep the camera sign would be on a permanent place, rather than keep trying to take the magnets apart, they are real powerful, so a rucksack, or your rear panniers bag would be ideal. 

Main thing I feel the PassPixi is getting the idea that cameras are being used for dangerous driving, so it has to be a good thing, thanks to Yasmin for passing this on, it’s better to have the sign on your bike, than no sign at all.  

I will take a few photos of other cyclists with the PassPixi, so keep coming back for the updates. 
If your on Twitter give them a tweet.. 


Please Feel Free to Support Our Sponsors Adverts. 

 Thank You. Foot Note This is not a Paid Advertisement for PassPixi.

Harlow cycle page on Facebook: https://www.facebook.com/Harlow-Cycle-Page-805601672891539/ 

 YouTube: https://www.youtube.com/channel/UCBlXmH7f4X0Az_xr7Az0Yqg 

 Instgram: https://www.instagram.com/harlowcycle/ 

 Tumbler : http://harlowcycle.tumblr.com/ 

 Twitter Feed: @TDF79 

 Linkedin: https://www.linkedin.com/in/harlow-cycling-b785a1105/ 

 Pinterest: https://www.pinterest.co.uk/Harlowcycle/pins/ Email: HarlowCyclingPageGroup@Hotmail.com ....................................................................................................................

Meilan S1 Bike Bell Alarm review.

Meilan S3 Bike Bell Alarm review.


MEILAN S3 WIRELESS BIKE HORN & ANTI THEFT REAR BIKE LIGHT - BLACK


Meilan has sent me a brilliant little bike alarm, and a bell all in one, with a added rear light as well, a very clever little bit of kit, ideal for your road bike, cross bike, gravel bike, mountain bike, E-scooter and more. 


Various prices on the internet, so check out before you order, I found it ranged from around £14.99 to £25.00! So do shop around. 


Features of the S3.


The S3 uses wireless technology, making it more convenient to operate.
Unit can be fitted anywhere on bike, front, rear, or frame.
Loud sound, ideal to let pedestrians know you are there.
COB (chip on board light source lamp, can be seen 500 meters away.
Rechargeable battery, last for more than 6 hours in flicker mode. 
400 mah battery capacity. 

What’s in the Box.
1 x Meilan S3 bike bell
1 x Usb cable 


Fitting. 
The S3 can be fitted anywhere, depending on your bike frame. Front rear, I’ll use it at the rear, Meilan has supplied a controller to mount to the handle bars, it has a rubber casing, so simply attach to your handle bars, fit the main unit under your seat on your seat post . On the side of the main unit you will find a button, turn it on, you notice just how loud it is  ha ha.. my advice, cover up the bell side and then go to the control unit and press the button to flip through the menu, sound, light sequences, alarm, takes a bit of setting up, so keep any dogs or cats out the way.. or it will drive them up the wall! 


Cover for the charge port. 

Snail. 

Fitting is a easy process.

Dust proof cover.

Useful features.


Main control unit.

Fitting is a easy thing, find the best location on your handle bars.

I found the best place on drop bars just by the levers.


Fitted nice and discreet.

My Verdict. 

It’s Loud! Very Loud.. 
Easy fitting.
Great when your in the cafe and not far from the bike. 
Nice rear light.
Good flash modes. 
Easy to change the small battery in the control unit (2023 battery) 

Great fun if your out with other riders. 


Please Feel Free to Support Our Sponsors Adverts. Thank You.
 Foot Note This is not a Paid Advertisement for Meilan 
Harlow cycle page on Facebook: https://www.facebook.com/Harlow-Cycle-Page-805601672891539/ YouTube: https://www.youtube.com/channel/UCBlXmH7f4X0Az_xr7Az0Yqg 
 Instgram: https://www.instagram.com/harlowcycle/ 
 Tumbler : http://harlowcycle.tumblr.com/ 
 Twitter Feed: @TDF79 
 Linkedin: https://www.linkedin.com/in/harlow-cycling-b785a1105/ 
 Pinterest: https://www.pinterest.co.uk/Harlowcycle/pins/ 
 Email: HarlowCyclingPageGroup@Hotmail.com ....................................................................................................................

Rim Tape review from TY Bike Products


Rim Tape Review 


TY Bike Products produce a Rim Tape, I can’t say what goes into the manufacturing process to get a Rim Tape this good, yes, “This Good”,  and the reason I say it’s “This Good” is because I’ve had the pleasure, yes, I did say Pleasure to use it, I made a mistake of punching a hole in my Giant wheel rim tape when I was inserting a tire plug because the tire sealant would not seal up a very small hole, hence you get to learn something new everyday, and that is to slightly slope the next tire plug I have to use, (which just so happened to be the case on a Saturday ride), if I can use this rim tape, I reckon that any one could, it was not that hard, when Matt the technology guy from TY phoned to ask how I was getting on, and recommend to use a heat dryer to get the air bubbles out, I replied “What Bubbles “ I honestly can put hand on Heart and say I smoothed them all out with my thumb! 

How did I get on fitting the TY Bike Products Rim Tape, find out below.. 

First thing I did was head over to the “How to Fit Rim Tape” on YouTube, loads of great How to videos, I picked a video that looked like it was a fast instruction with no interruptions, but I was wrong on that part, just getting into the important part and a advert appears! So I had to have a bit more patience on this, anyway after watching the video a couple of times, i then decided to take the plunge and try it out myself, read below on how I got on, its not as hard as it looks..

Remove  the tire, clean  the rim.

.
Inspect the rim for any sharp edges, or damage.

                                                                          
Remove the small nut, and save the little rubber ring, once removed I put it all back together and placed it in a safe place.

,
Remove the valve.

Valve removed.

Remove the original rim tape.

Both tape and valve removed.


Take the TY Bike Products Rim  Tape out of the bag


Starting from the opposite side of the valve hole, carefully start  the process of placing the Rim Tape in the middle and carefully  smooth out as you unroll the tape.


I found it easier to sit on a low stool with the wheel spurted between my feet and pull the rim tape towards me a few inches at a time, smooth out the air bubbles with my thumb, making sure the rim tape is spread across the rim.

Smooth as anything.

I Was impressed with the ease of the way the TY Bike Products Rim Tape was going on the rim, strong and stretched enough to keep it smooth.

Rim  tape.

Professional finish.

As I unrolled, I used my thumb to smooth it out. 

Flat Free.


Impressive 

I’m no professional tire fitter, but to me, that looks good, if you have any comments, please do leave a message in the comments box below.

Marks out of 10 for ease of fitting, thats a 10 from me! 

Locate the valve hole, and gently pierce the TY Bike Products Rim Tape.

Pierce a hole where the valve will sit.


Push the valve through with the nut and ring removed.

Before the valve is tightened it was recommended on the YouTube video to run some sealant around the valve before it’s tightened.

Finished, simply tighten up the valve by replacing the rubber ring and nut.

Cool Chrome.

Cool Chrome.

Neat Valve removal tool built in the cap.

Easy Fit.


Take a look at the above video to see how well the Rim Tape went on the rim.
A very Impressive finish. 


The wheel is all set to have the tire fitted. 

MY VERDICT.


Going tubeless could not be much easier with this tape and valves from TY Bike Products, can’t fault it, since I’ve had the rim tape on the wheel, I’ve fitted a Goodyear Connector gravel bike tire and been out on a few rides, the tires have stayed up, not let me down, 

Check out the TY Bikes Website, they do not sell vie distribution company, so it’s straight to the main supply company TY Bike Products.

I can’t recommend the TY products enough, Trouble I have now is letting everyone know there is a system that works on the Tubeless Tyre set up... 


Thank you to Matt of TY Bike Products for the Rim Tape and Valves, it’s been a real pleasure doing this review, great quality rim tape.. 


Please Feel Free to Support Our Sponsors Adverts. Thank You.
Foot Note This is not a Paid Advertisement for TH Bike Products 
Harlow cycle page on Facebook: https://www.facebook.com/Harlow-Cycle-Page-805601672891539/ YouTube: https://www.youtube.com/channel/UCBlXmH7f4X0Az_xr7Az0Yqg 
Instagram: https://www.instagram.com/harlowcycle/
Tumbler : http://harlowcycle.tumblr.com/ 
Twitter Feed: @TDF79 
LinkedIn: https://www.linkedin.com/in/harlow-cycling-b785a1105/ 
Pinterest: https://www.pinterest.co.uk/Harlowcycle/pins/
Email: HarlowCyclingPageGroup@Hotmail.com ....................................................................................................................
.


tooocycling TOOO Cycling™ DVR80 Model Bicycle Lamp Camera

TOOO Cycling™ DVR80 Model Bicycle Lamp Camera https://www.tooocycling.store/products/tooo-cycling%E2%84%A2-dvr90-model-bicycle-lamp-camera-f...