CycleLights Wheel Light Review

We were approached to do a review on Wheel Lights from the USA, as christmas was on the horizon  we could not refuse!

We love wheel lights here at HCPG, always brings a smile to our faces and makes for a joyful ride out, especially as the evenings are now darker.

The review here is on just two of the different colored wheel lights, the first one red, and the other white.
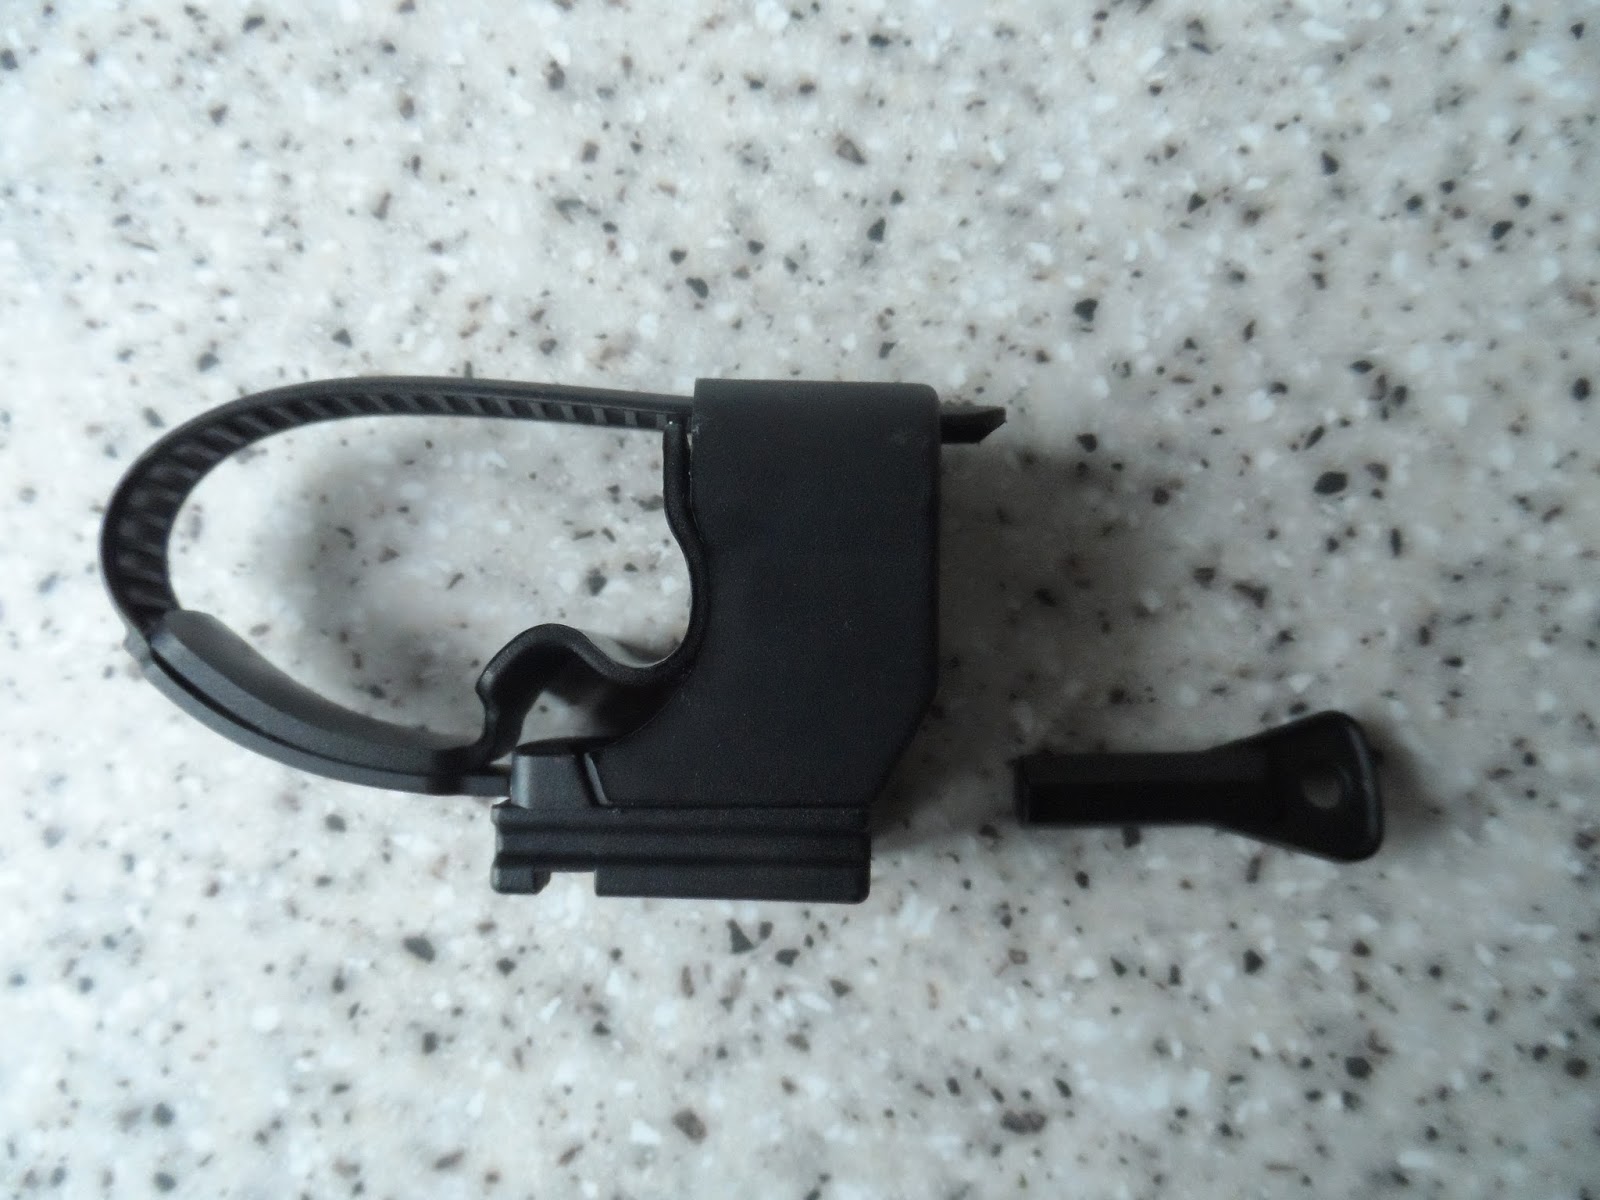
                                                   Red Cycle Lights by CycleLights
                                                   White Cycle Lights by CycleLights

What is in the box!

Cable ties
Roll of Led Lights and a battery compartment comprising On/Off switch
Small instruction card
The instruction you will find printed on the inside of the box, AA battery's are not included.

                                                              Contents of the box
                                                             LED Roll
                                                          Battery compartment
                                                       Small instruction card
                                             Small instruction card
The main instructions are printed on the inside of the box, to be able to read these, you have to cut the box up! this is not as complicated as it sounds, just follow along the dotted lines cutting with a sharp pair of scissors, this then will allow you to open the box, so as to read the instructions.


                                          Photo here of the inside instruction to come later


First thing to do in the fitting is place the battery's [3AA battery's not included] inside the battery compartment, undo the Velcro strap clip off the two clips and open up the lid, then insert the battery's right way up, and close clip's, I pushed the button to make sure they were working, and was extremely impressed with the light show!
Next was to strap the battery box to the inside of the rear spokes, (as this was the red set, these went on to the rear wheel ) and was then secure with the Velcro strap

                                                          Battery compartment

I made the mistake of fitting the box to the Derailleur side of the wheel, I then had to change this to the brake side of the wheel, as I later found out whilst out on a ride, that the light kept switching itself off,  I then realized, that every now and again the switch would hit the plastic cover of the cogs, and would turn it self off,  after which I moved it to the other side of the wheel, and it worked fine with no switching problems.

Next thing was the wrapping of the lights around the wheel, the easiest way is to have the bike mounted in a bike repair stand, of course if you do not have one, turn your bike upside down that way you can slowly turn the wheel as you feed the wire around the spokes, and the light trunking around the wheel, I kept the wire from the battery compartment tight around the first spoke, as I felt the cable may possibly get snagged if off Roading.

                                                    Lead wire from battery box

                                                   Feeding the LED trunking


 To put the LED trunking in place on the wheel is quite simple.
All you need to do is to simply wind the LED trunking in and out of the spokes, whilst slowly moving the wheel bit by bit, feeding the trunking in and out until you get to the end, then simply hold it tightly in place with a cable tie.  (these are supplied in the box)
Make sure that nothing is hitting the battery box, test this by moving the wheel around, when you think all is well, push the On button and spin the wheels for a great light show!
 Repeat this with the front wheel, which are White Led lights. Fitting time was under 10 minutes, and we found it very simple to do!

 The lights in action.

https://www.youtube.com/watch?v=WL4goz0iMJM

The above video shows where the lights have just been fitted to the bike, for the first test!

                                              Front and Rear CycleLights fitted

This video will give you a rough idea on how good they are, not a very good video, but you will see how good the visual effect can be with the CycleLights

https://www.youtube.com/watch?v=yUwI3sAw8m4

Conclusion

The CycleLights are the best wheel lights we have tried, they are easy to fix to your bike wheels, and they come in some great colours, if you are going on any Night rides or you just want to jazz your bike for fun you need to get your hands on these! Great not only for Adults but also great for Children. If your only going to buy one set of Wheel lights make it CycleLights.

Ideal for
Critical mass rides, Last Friday of the month normally, find a ride near you  https://www.facebook.com/groups/425506074234166/

The Dunwich dynamo. July the 4th this year, a 120 mile night ride starting from Hackney in London UK
https://www.facebook.com/groups/DunwichDynamo/10153487179464012/?notif_t=like

Night ride London.
 http://www.nightrider.org.uk/

 Ride The Night (Australia @ridethenight ) Ride the Night: fun starts at 10pm Saturday 31 January 2015. Ride begins at midnight, Sunday 1 February 2015.   http://ridethenight.org.au/

The great news is.... at the moment CycleLights have got a sale on! Find them here on the web at

http://cyclelightsllc.com/

Twitter feed is at  @CycleLights

Facebook https://www.facebook.com/CycleLights
So what are you waiting for, get those light fitted to your bike and go and have loads of fun!

This video sums it all up, Have fun with your CycleLights


https://www.youtube.com/watch?v=68SMCLANbHA

A Great Vide here on the CycleLight bike wheel light

 https://www.youtube.com/watch?v=Uoo2Q1IzjjY


Foot Note

This is Not  a Paid Advertisement....for Cyclelights


Salice Cycle Glasses Review


 A real treat is in store for you on the review of cycling glasses by a well established Italian company called "Salice".

When you first see these, you will just know your not just looking at any old pair of cycling glasses, your looking at something special, not only in the way they are designed but also in the manufacture and technology. Even the feel of the frames is enough to convince you these Salice 011 RAD are more than a bit special. The brand name is derived from the family who founded the company, and which the current CEO Anna Salice is the third generation in charge, so they must know a thing or two about sports glasses, they not only produce cycling glasses, but also glasses for skiing, snowboarding, motocross, sailing, canoing and so much more.

                                                        Salice 011 RAD           
                            Excellent glass case, strong and padded, included is a glass cloth.

                                                              Salice 011 RAD

                                                                                            Photos by A.Burns

The specifications for the Salice 011 RAD glasses are very long and technical, if you thought they were just a run of the mill pair of cycling glasses, you would be very wrong!

The arms of the Salice 011 have a slender line, built from Grilamid TR90. "What is that" I hear you say, well here is the Technical Part

Grilamid TR90 grades are transparent thermoplastic polymides based on alipaticc and cycloaliphatic blocks, so that makes Griland TR 90 very clear, gives it a good light in natural colours, it makes it tough, stiff, and has a good chemical and stress resistance, also it has a high flexural fatigue strength, so it makes it a ideal choice for sports glasses.


                                        Megol Rubber inserts.                       Photo A.Burns


 The frame is also fitted with Megol rubber inserts on all of the contact points to ensure comfort and stability, especially when the going gets tough, this works brilliantly, it holds the rims firmly in place on your nose, we tested this on a rough mountain bike ride, and not once did the Salice 011 RAD glasses feel like they were sliding or become uncomfortable, in fact they were so comfortable we forgot we had them on, one of the most comfortable pair of riding glasses we have ever tried! Not only were they good off road but out on the road they were superb! not once did they fog up, even though it was a very cold day and I had a neck scarf pulled up, what usually happens is the glasses I wear get fogged up quickly, but the Salice 011 RAD kept clear all the way through the ride, this is due to the top vents in the lenses, fantastic idea! nothing worse than having to fumble around trying to find a cloth and to keep stopping to clean your glasses at the side of the road or in dark woods !

Lenses
The Salice 011 RAD come with lowlight multilayer mirror Orange coated lenses, which cuts glare and increases contrast, this works very well on a dull day, it brightens up the vision and makes objects seem a lot clearer.
                        
                         
Weight
When everyone seems to be trying to get the lightest bike, the lightest wheels, the lightest clothes etc  these days, the Salice 011 RAD  goes along with that principle, weighing in at a very modest 23 grams!
When you look at other makes and models of cycling glasses on the market, that come in that weight category, you will find you have to pay a lot more for a lot less! but not with the Salice 011 RDA, this is where  the Grilamid TR90 comes in, making them light weight and strong!

How to change the lenses.
It will be a lot clearer if you check out the Salice website regarding the instructions, I had no problems with the interchange,  it was also very handy that they have placed a glass cleaning cloth in the glass case.

 http://www.salice.co.uk/detail/011-black-ita-radium 


Summing up
A great pair of cycling glasses from Salice, strong, light weight, great lenses, good quality glass case and a very good price for a top quality product.
If your looking, or even thinking of buying some new cycling glasses, add these to the top of your  list to try out.


http://www.salice.co.uk/detail/011-black-ita-radium

Stockists  listed here

http://www.merlincycles.com/salice-011-rad-cycling-sunglasses-70321.html

http://www.cyclesurgery.com/salice-011-glasses-with-rw-radium-lens-and-spare-orange-lens/salice-eyewear/bikes-components-bikewear/fcp-product/55048?listing=true

Salice UK Twitter feed @SaliceUK

Salice eye ware UK https://www.facebook.com/SaliceUK


Race Ware Direct GoPro Garmin Mount Review.

RaceWare Custom Components....................... interesting !

 3D Printed Custom Cycle Components, RaceWare produce a variety of 3D printed items, made from both nylon & Titanium as well as offering a full custom service. All in the UK! bike mounts  are just a sample of some of the interesting items they produce, ie: Cateye, Garmin etc.

                                                      Cateye Cycle computer mount
                                                            Photograph by A.Burns


3D printing or additive manufacturing is a process of making three dimensional solid objects from a digital file. The creation of a 3D printed object is achieved using an additive processes. In an additive process an object is created by laying down successive layers of material until the entire object is created. Each of these layers can be seen as a thinly sliced horizontal cross-section of the eventual object. I can remember seeing this on Tomorrows World years ago! and it has now arrived to the masses!

Now you get the idea of what they do, RaceWare quote on their website they can customize any item they produce, sounds good to me! for example words and colours etc, here is the link, see what they can do for your next mount, http://www.racewaredirect.co/customise/ 


Have a look at their Gallery on there website for some ideas
 http://www.racewaredirect.co/gallery/

                                                        Cateye and Garmin Mounts
                                                              Photograph by A.Burns
                                                      Photograph by A.Burns

We have for test and review, two from their many ranges of bike mounting clamp's, we chose the Garmin, and the Cateye, as there are a lot of Garmin users riding bikes up and down the country, and also Cateye are a leading brand of lights, fitted to many bike's.(Totally forgot that Cateye also produce Cycle computers, we will tell you how we get on as the mount we have is not for a light)

A colour chart as standard, they offer 11 standard colours which are: Black, Red, Pink, Blue, Yellow, Green, Orange, Purple, Neon Yellow, Neon Orange and Neon Pink.

A bit about RaceWare, just read this great link to how they came about
http://www.racewaredirect.co/about-us/


                                          Here is one fitted to the bars on a road bike

            As you can see, it now puts the Garmin out in front where it becomes more visible
                                                             Photograph by A.Burns
                                                                Photograph by A.Burns

It easy to fit with a Hex key fitting, that is in every cyclists tool bag, has a nice rubber gripper in the inner ring that stops it from moving and has a lot of grip.


Verdict

If you have a Garmin fitted to your header bar or handle bars, then check out RaceWare for that something different to have on your bike, it holds the Garmin nice and solid, and makes it a practical accessory.
A worth while addition, it will also allow for other kinds of mounts on your bars as well, look them up they are on Facebook

Facebook  https://www.facebook.com/pages/RaceWare-Direct/283022258435575

Twitter feed @racewaredirect

Main Website http://www.racewaredirect.co/

Don't forget you can have your club or team name on the side, so ask them for details.

RaceWareDirect are also looking to add to there stockists in case there are any Cycling shops interested, if so, drop them a line


                                                  GO-PRO Mount
I Have used the GO-PRO Mount on a KitvisionUK Blast camera, just to show you how versatile RaceWare mounts are
                                 GoPro Mounted to a Camera Cyclist handle bars
                                           GoPro mounted to RaceWare mount

What better way than to let a camera cyclist mount there GoPro to a RaceWare mount, this is subject to change bikes, as the one above is not the usual bike used by Dave Sherry of Harlow.
This will be a real test, the camera is used every day to record cycling road safety videos on his way to and from work,

 Great Value, Great Design from Race Ware.


UPDATE 

 Tried the Raceware on the Specalized MTB out on the trails and it works a treat! 

So well designed to be out in front at the right angle, holds the Garmin a 100% over the rough ground, not once do I need to adjust or check the Garmin, it stayed where it was placed.

Can not recommend the Race Ware range enough, look out for there updates on there Twitter and Facebook page, if you need something made, drop them a line.

Here are a few other mounts and grips that Race Ware Direct manufacture.

GoPro/Garmin Mount.
 Name of your cycling club can be printed on any mount.

 GoPro Mount.

The Mount fitted to the bars.
Holds the Garmin firm out in front, and the GoPro nicely positioned out in front.

New to Race Ware Direct Silicone Grips.


Foot Note This is not a Paid Advertisement for Raceware Direct

Hornit Horn Review

A Look at the Hornit, a horn with a difference.

The Hornit, great packaging, well designed, I really like the way the lads at Hornit has spent time on the packaging 


The Hornit attaches to your handle bars vie a mount with a cateye type bracket, take a  second look it appears to use a slightly different tightening mechanism which is an improvement. It tightens via a hex key which appears to be very solid and the rubber grip of the strap allows the bracket to hold well on both road and any other handle bars

Bracket for the mount, and the Hex key


So whats in the Box, and what a great thought out design of a box it is, I liked the way the horn was displayed in side, you can see how much thought went into the design of the packaging.


1 X  Instruction sheet
1 X  Hex Key
1 X  Hornit horn
1 X  Micro switch
1 X  Connector wire
1  X Battery's
1 x Note reminder   

First thing to do was fit the battery's as directed in the very well thought out instructions leaflet, a simple case of a small screw, and you had access to the battery compartment on the horn.
What we then needed was to now fit to the bike!
I removed the old bell fitted, gave the handle bars a little clean up, and offered the horn up to see where it would sit, I decided on the left side of my bars.

Hornit being offers up into position.

I made sure it was not to far from the Micro switch, and then fitted the Mount, a nice bit of rubber held it in place to stop it from slipping, and tightened the clamp with the hex key.
Next thing was to fit the micro switch in place where it was close to pres, at first, I fitted it passed the hand grip, Then wound the wire round the handle bars to take up the slack, and connected the plug,  this was pushed all the way in as recommend on a slip of paper that was in the box, a quick test with a push of the button, and hey presto! One Loud Horn! and I do mean Loud!
It has 2 settings, a loud trill, and a slightly lower piercing sound, more suitable to cycle paths to warn pedestrians that you are approaching, the two tones are very easily changed by a little button on the back of the horn, press it and it changes tone.

I Took it out for a test ride, and it wasn't long before I had to use it in anger! Cars now know you are there, a car went to pull out, not too sure if he saw me, but a quick blast on the Hornit and he knew I was there!
Same with pedestrians, they walk along aimlessly on your part of the cycle track, a press on the Hornit and they turn around!
Found it brilliant when approaching a T crossing on a cycle path, a blast to warn other, and safe to proceed.

So, fits great on a straight bar bike, but how about a road bike!
A look on the instruction sheet on how to fir to road bars, and off I went to try.

First off, find the place it will sit on the handle bars, remove the old bell, place the Micro switch where your finger can press it easily, I found the right hand was more comfortable.

Micro switch fitted to the hood

I then checked on the length of cable from switch to the horn, I found I had more than enough, so, I mounted the clamp and tightened it with the hex key.

Now comes the bit some might not be too comfortable on doing, if this is the case, take your road bike to your nearest local bike shop for them to do it, as you will need to unwrap the part of the bar tape to cover the wire, so, find the end of the bar tape, and start to unwind the tape.

 Find the start
 Unravel the bar tape

 Place the wire on the handle bars and rewind bar tape tight
 Seal up the end of the tape again to stop it coming unwrapped
 Hornit in place
Micro switch
End result!

This only took about 15 minutes to do, it is that simple to fit the Hornit.

On a social ride on Sunday, it was shown to other cyclists, and in the words of Sam Snelling, who I can Quote, "Thats Amazing, well impressed".

The Summing Up!

Don't leave home with out one! 
Until you have one fitted, you wont realise just how easy it is to let other road users and pedestrians know you are there, a quick press of the button, a loud sound is omitted, and you get noticed, as simple as that, if you only have one horn, make it the Hornit, top quality, great service from the people at Hornit.

Simply a Must have product, highly reckoned this horn to every cyclist out there! .


UPDATE


Since fitting the Hornit to the Road bike, I had full use of it on the London to Brighton Bike ride on Sunday the 15th June, came in so useful as there were a lot of cyclists not keeping to the left!
And also it was great fun blasting away on it when the children were  standing with mum and dad all cheering us on and wanting all the passing cyclist to ring there bells, you can imagine there delight to hear the Hornit!

Fantastic horn, cant wait to get out there again and blast away! 

The Hornit on the London To Brighton Bike Ride 15th June 2014

Some Video Links to the Hornit Horn

 Critical Mass Ride in August Filmed with the Blast 


Here is one for the Younger riders out there!
Xmas is coming up soon!

https://www.youtube.com/watch?v=mCNokPNQSnI#t=48

Check them out at Lee Vally Cycles at The Stow in Harlow

http://www.leevalleycycles.co.uk/

From a cyclist out there...
"These guys are the nuts, product is fantastic, and the customer service is second to none. Never known service like it. Cheers guys!"


Foot Note This is not a Paid Advertisement for The Hornit 

tooocycling TOOO Cycling™ DVR80 Model Bicycle Lamp Camera

TOOO Cycling™ DVR80 Model Bicycle Lamp Camera https://www.tooocycling.store/products/tooo-cycling%E2%84%A2-dvr90-model-bicycle-lamp-camera-f...