Mirror Indicate review
£19.99 on AMAZONUK Mirror Indicate AmazonUK

My review here for you all Is on a Cycle Safety product, I first came across the Mirror Indicate on a advert on Facebook, I have been asked to do a review and give you all my thoughts on a Mirror that fits on your hand and also acts as a Indicator, hence the name for the product “Mirror Indicate”, it simply means it’s a Mirror that has a Indicator built in, well that is it in a Nut Shell, but it’s a bit more than that, check out the website here on this link..
I noticed on the website the cost is £44.95! But has a strike through price tag down to £19.99 and that looks a much better price.
What’s in the box.
Instruction book.
One x Mirror Indicate.
Velcro strap with a magnetic metal piece on it.
Velcro strap adjustable.
Small Allan key.

Battery fitting instructions, very easy.


Make sure the lens is on the out side of the wrist.
The Quality build of the Mirror Indicate is on a high listing, it feels well made, good materials, and solid, should take all the knocks and bumps that I plan to put it through.

 Yellow Dot.


 Easy set up


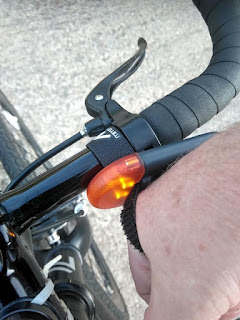
Attach the Velcro strap with the magnet on it to your handle bars, with the Yellow Dot facing you.
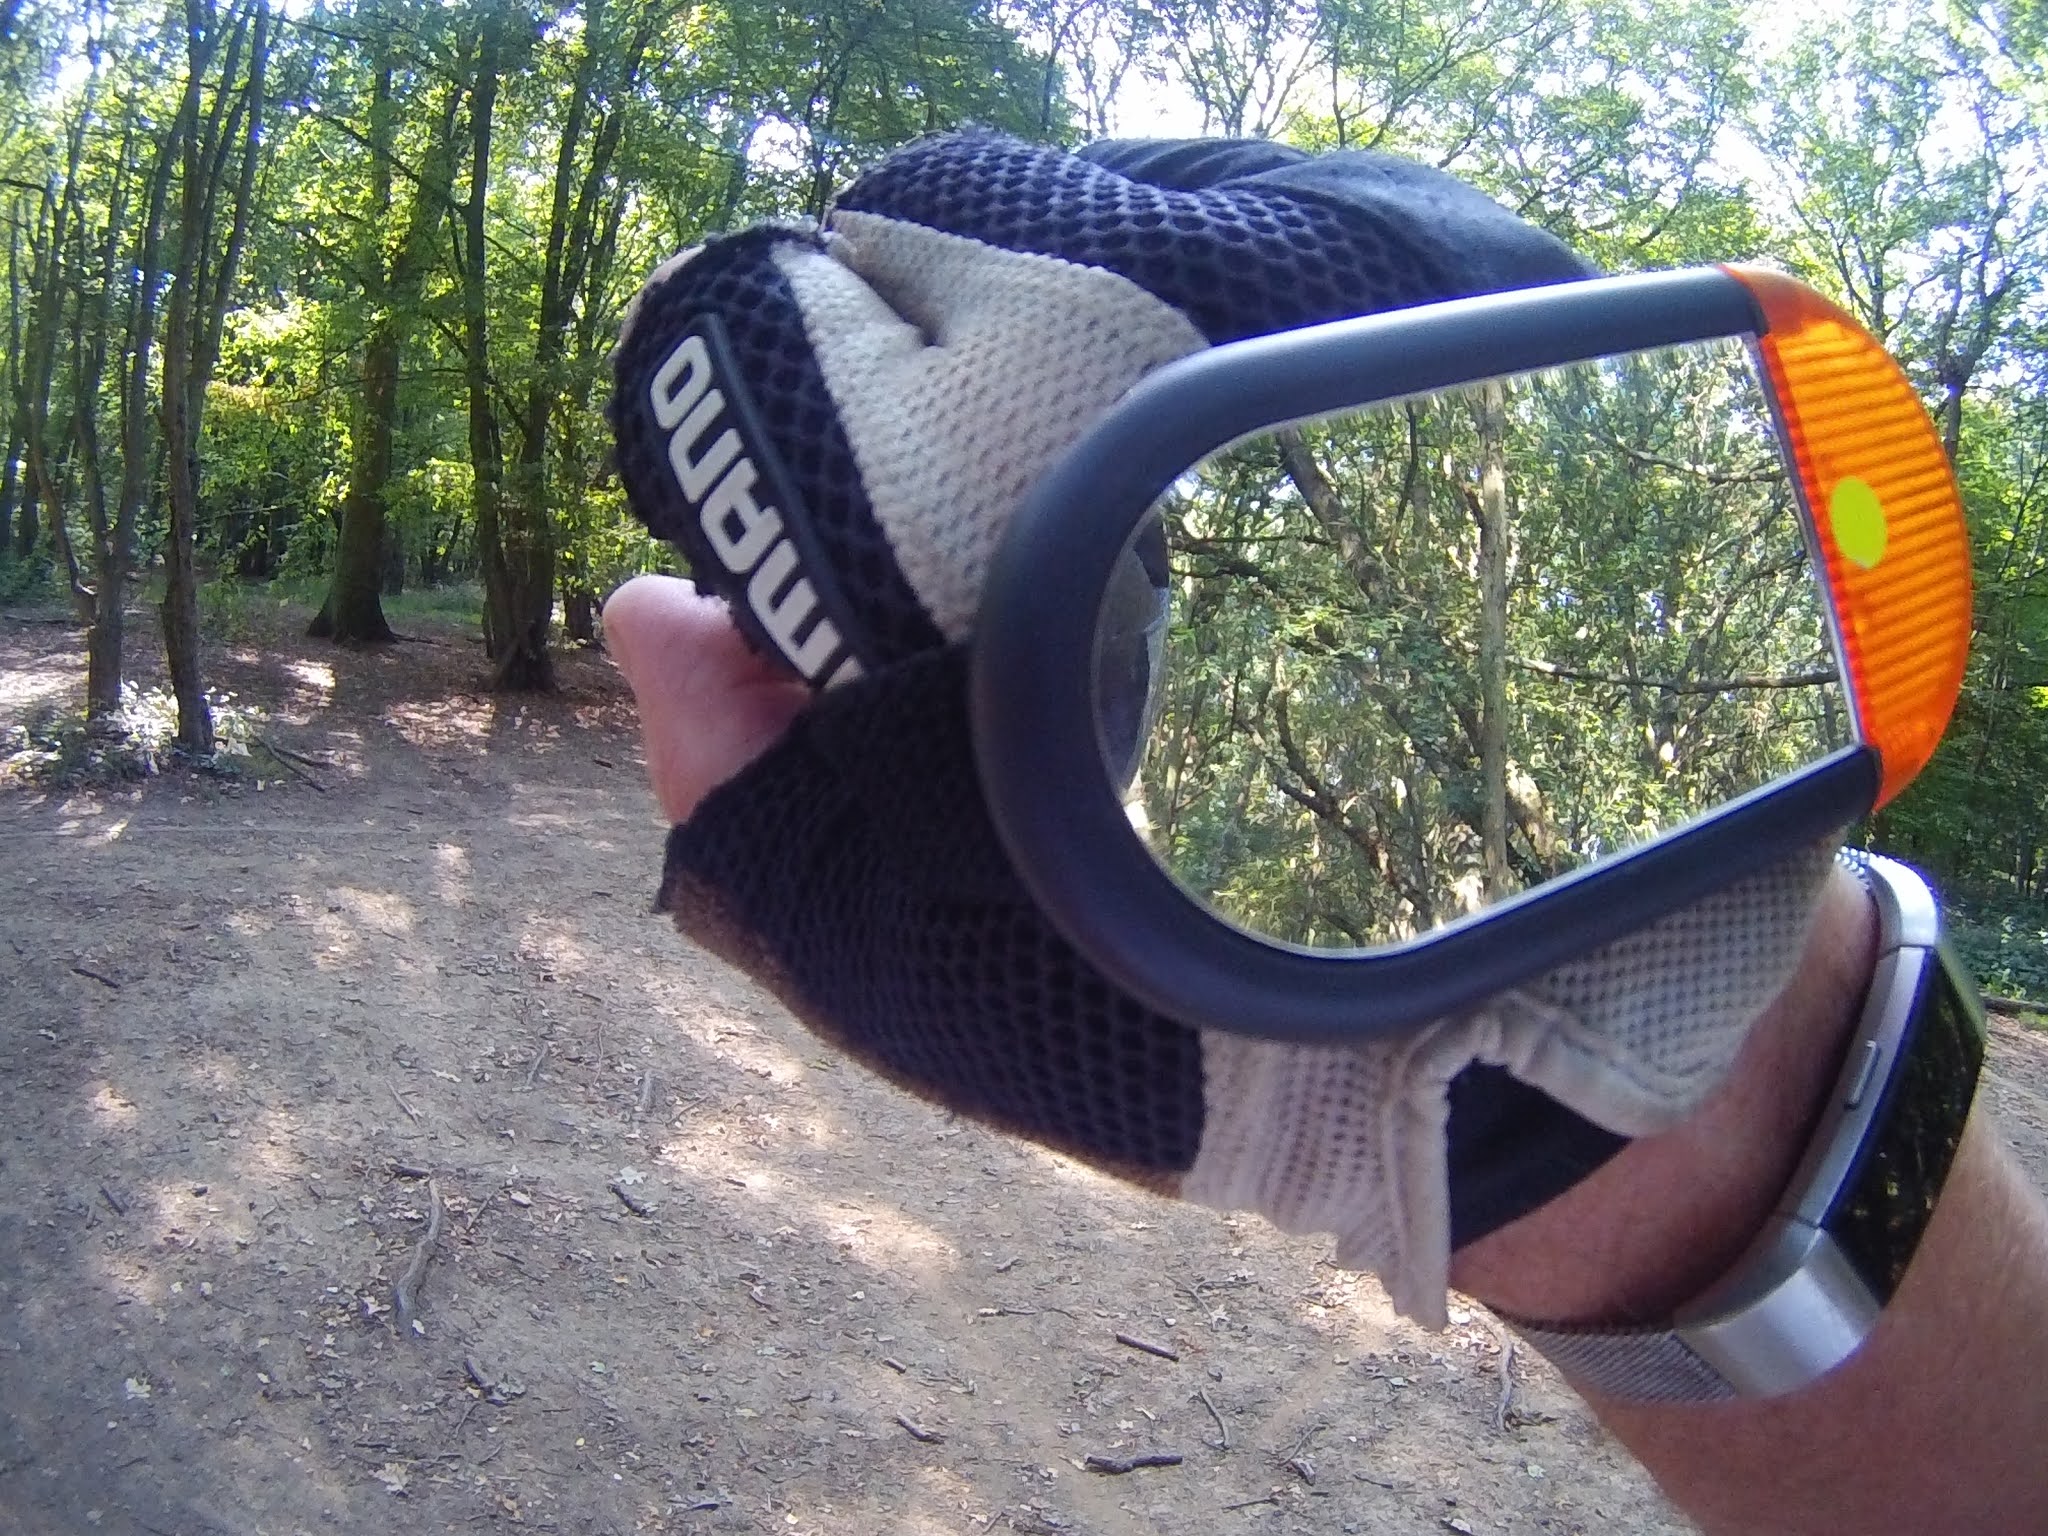
I tried various positions on the hand, but found the one recommended by Mirror Indicate was the best, so I simply turned the mirror around to have the lens on the outside of my hand.
Using the Mirror Indicate as a rear view mirror.
The easiest way is the Salute position as recommended by Mirror Indicate, I tried to see what was behind me doing it my way, but could not see anything as the position was very awkward, so I tried the Salute position on the bike and found this to be the safest way, at first I found I was trying to concentrate on the mirror too long, very dangerous especially if your on the road, so my suggestion is find a quiet place and experiment with the Mirror Indicate, I found the more I played and tried it, the easier and more comfortable to see objects in the rear view, it gives you a good field of vision of what is happening behind you, just salute, a quick glance and carry on cycling.

Using the Mirror Indicate as a signalling device.
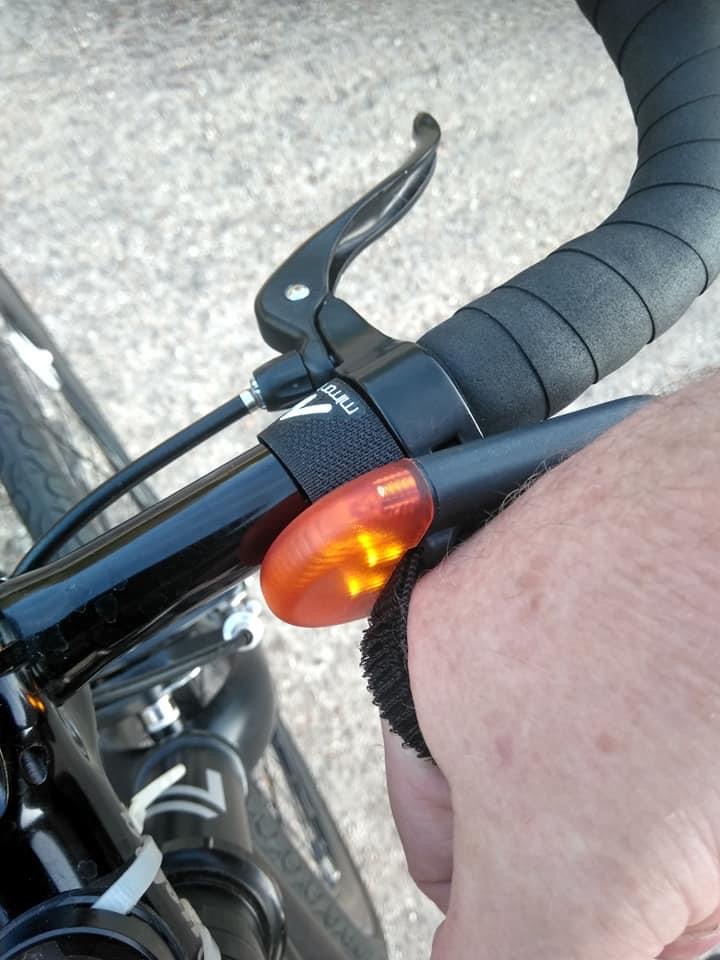
In the box you will find a Velcro strip with a magnet on it, this needs to be attached on your bars in a position where you can touch the magnet with the front of the light, you will notice the two dots, one on the Velcro strap and one on the lens, try it before you fit the Velcro to your bike to get a idea on how it works, touch on, light flashes, then arm out to signal, arm in, touch magnet to stop the flashing, easy on and off. The dot on the lens needs to touch the magnet to make it turn on off.

How did I get on with the mirror Indicate, very well I thought, I had a play before I fitted the Velcro on my bike bars, this I then simply played with it turning it on/off to get used to the function of the mirror Indicate, I then fitted the Velcro strap to the bar in a position where it was easy to turn on and off.
I kept on playing with the on off function to get it to work easy so it felt natural, the position of the magnet needs to have the spot on it facing you, that way you just touch the spots and the light works.
Out on the ride it took me a while to get used to the position of my arm raised to get the mirror in line of the road behind me, I was on my gravel bike, and found when riding with my hands on the hoods and doing the Salute move my right shoulder was getting in the way, but once I had moved my riding position to the top straight of the bars my back was up straighter and my shoulder did not get in the way, so visibility was much better, a wide view of the road and traffic behind me.

Bring the Mirror Indicate up to the Salute position.

The view of the road is very good, plenty to see.


I was impressed with the field of vision the Mirror Indicate gave me.

The Mirror Indicate is waterproof.


The Mirror Indicate would make a great gift, the box it comes in gives it the feel of something special, very nice design and well made.

Easy guide.


On your palm the Mirror Indicate was comfortable to-have on your hand

I tested to see how well the Mirror Indicate would stay on my hand whilst pumping up a tyre, the Velcro held the mirror safe whilst pumping.


Protective film.

Easy change battery.
Mirror Indicate have done a lot of design thought on the kind of mirror they use, the mirror they have come up with is made from acrylic material with a armadillo coating, so no bad luck from a broken mirror as the Mirror is tough.

Any enquires just give Mirror Indicate a Email.
My testing of the Mirror Indicate was done on a safe cycle path to start with, once I got used to the position I decided to take it on a Towpath ride, one with bumpy ups and downs, narrow passing sections, my idea was to test the rear visibility as if I was out with my family, or a group of other riders, (COVID rules permitting).

My first real test ride on a safe cycle path.

I found this was the easiest way to get used to the Mirror

On the bike riding and a turn on for a signal.

Touch the spots and the light begins to flash.


Once I was happy with the way the Mirror Indicate works, it was time to set out on another test ride.

With the Velcro in place and the Mirror Indicate on my hand it was time to set off for the test ride, Harlow to Ware, vie the Towpath.

I tried to fit the Velcro on the stem of my gravel bike, but the Velcro was not long enough.

Not long enough. My bar tape was too thick for the Velcro and the middle section of my handle bars, I found I was able to place the Velcro on the corner just before the bend to my brake hoods, so that was the spot for me!
I have mentioned this to MI and they will be sorting out a slightly longer length.


Along the River Lea towpath .


All in all a very successful ride out using the Mirror Indicate for Cycyle safety, it’s light in weight, easy to get to see anything coming from behind, stays in place.

No worries or any real issues with having the Mirror Indicate on your hand as you go off road, if you do not want to remove it and put in your pocket the mirrors is well up to staying on your hand during the ride, yet again I did not need to stop and adjust it at anytime, getting a drink from the bottle in my cage, the Mirror didn’t get in the way, nor did it get in the way when I went to my pockets to retrieve items.

Comfortable to have on your hand.

The MTB Trail is in that direction.


View of what was in the mirror behind me.

My test on how well the Mirror Indicate stays in place on your hand passed a 100%!
All through the rides the Mirror Indicate was in the right spot to do a quick salute and check the rear, so it’s a marvellous bit of cycle safety to have with you.
Test on the Mirror Indicate as a turn signal.
A quick test on how bright the Mirror Indicate becomes when it is turned on vie the magnet, as you can see vie the video it becomes visible at any angle, and that has to be a real safety feature, even if you don’t use the Mirror Indicate as a mirror, you could always carry on using it as a turn indicator making ridding at the darker times a lot safer by getting you seen.
Above is a small video to show how quick the flash mode operates and the brightness of the Mirror Indicate.
Nighttime riding is made a lot safer by having the Mirror Indicate on your hand and used as a mirror and as a indicator, you get seen from the side, front and the rear, on my night time ride, I found I fumbled a bit to find the correct spot on the magent to get the mirror to switch of, one thought did cross my mind why turn it off at night, I found with my hand on the brake hoods the flash was getting seen a lot, and if that’s making me stand out out then why not leave it on, it worked fine once I got used to the on off in the darkened light of the street, out in the country side on a very dark country lane I did do a quick test and found the brightness was a bit dazzling if I looked at the Mirror Indicate light , so my recommendation is if your out on a dark area try not to look at the light!
My Verdict.
Likes:
Light in weight.
Good rear view vision.
100 lumens of light.
Front, side and rear visibility.
2 x Cr2023 battery supplied.
Good quality Velcro stapes .
Well presented box.
Well made and designed.
UK manufacturing.
Dislikes:
Velcro strap could be slightly longer.
The sun reflected in my eye for a split second when riding and hands on straight bars.
Mirror Indicate on Facebook: Mirror Indicate Facebook
Twitter feed: Mirror Indicate Twitter
Website: Mirror Indicate website
AmazonUK:
Foot Note This is not a Paid Advertisement for Mirror Indicate
Harlow cycle page on Facebook:
https://www.facebook.com/Harlow-Cycle-Page-805601672891539/
YouTube: https://www.youtube.com/channel/UCBlXmH7f4X0Az_xr7Az0Yqg
Instgram: https://www.instagram.com/harlowcycle/
Tumbler : http://harlowcycle.tumblr.com/
Twitter Feed: @TDF79
Linkedin: https://www.linkedin.com/in/harlow-cycling-b785a1105/
Pinterest: https://www.pinterest.co.uk/Harlowcycle/pins/
Email: HarlowCyclingPageGroup@Hotmail.com
....................................................................................................................


