ORP Light/Horn Review Now with Remorp!


Welcome to ORP LAND as ORP put it on there website!

We have a Horn Light to review..... Or is it..... We have a Light Horn to review!

Confused!....... don't be, it is a really nice looking cycle light with an integral horn made by ORP!

It materialized from the mighty Kick Starter program,  the ORP was designed by a chap called Tory Orzeck, an industrial designer from Portland, Oregon, USA read his full story on the link below.

http://www.orpland.com/about/

https://www.kickstarter.com/projects/2008278958/orp-smart-horn-smorn

"The Review"

Ladies and Gentlemen, let me introduce to you the ORP bike Light Horn or bike Horn Light!

                                                      The Smart Horn
What's in the box

1 X OPR light horn
1 X USB charge cable
1 X Rubber strip
1 X ORP Sticker, (we love stickers here)


This is one of the easiest Lights/Horns we have come across by the way of design and use, it is so simple to use once charged, firstly all you have to do is push the button to power it up, then press it again to make the ORP strobe flash slowly, then press it once again to make the strobe light flash in fast mode, then again to have the ORP on constant light, and finally press the button a last time to turn the strobe off, hey presto you have all the directions for use!

  • Press down for 3 seconds to power up, Orp’s Horn is then ready
  • Press again for battery status and the LEDs go into Slow Strobe mode
  • Press again for battery status and LEDs go into Fast Strobe mode
  • Press again for battery status  and LEDs go into Constant On mode
  • Press for 3 second to completely power down

                                                           Side view left
                                                            Rear Tail!
                                                     Side view right
                                                 Opening of the ORP strap 
                                                  ORP Strap wide open
                                               ORP USB charging point

To charge up the ORP plug the USB cable into the socket at the rear of the ORP, then plug into your PC, this will then display a red light at the top of the ORP
                                           ORP in charge mode connected to PC

                               When the ORP is charged, the light turns to Green


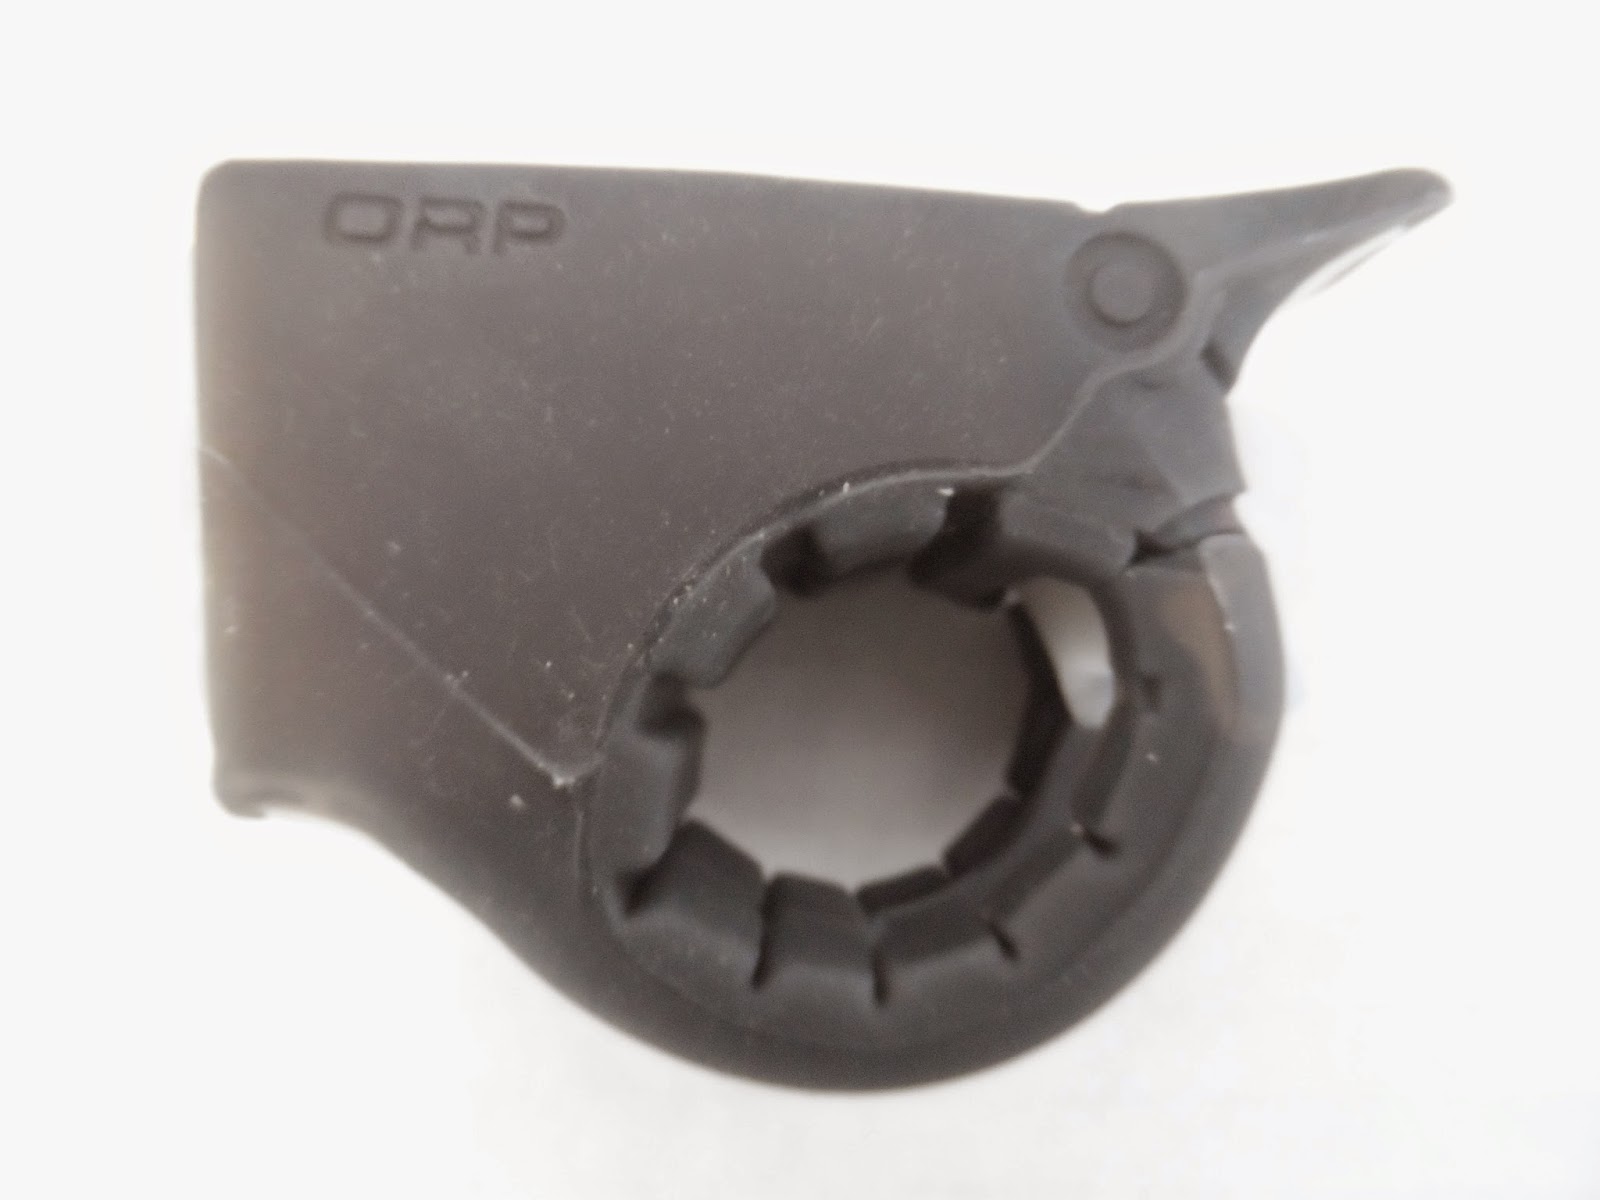
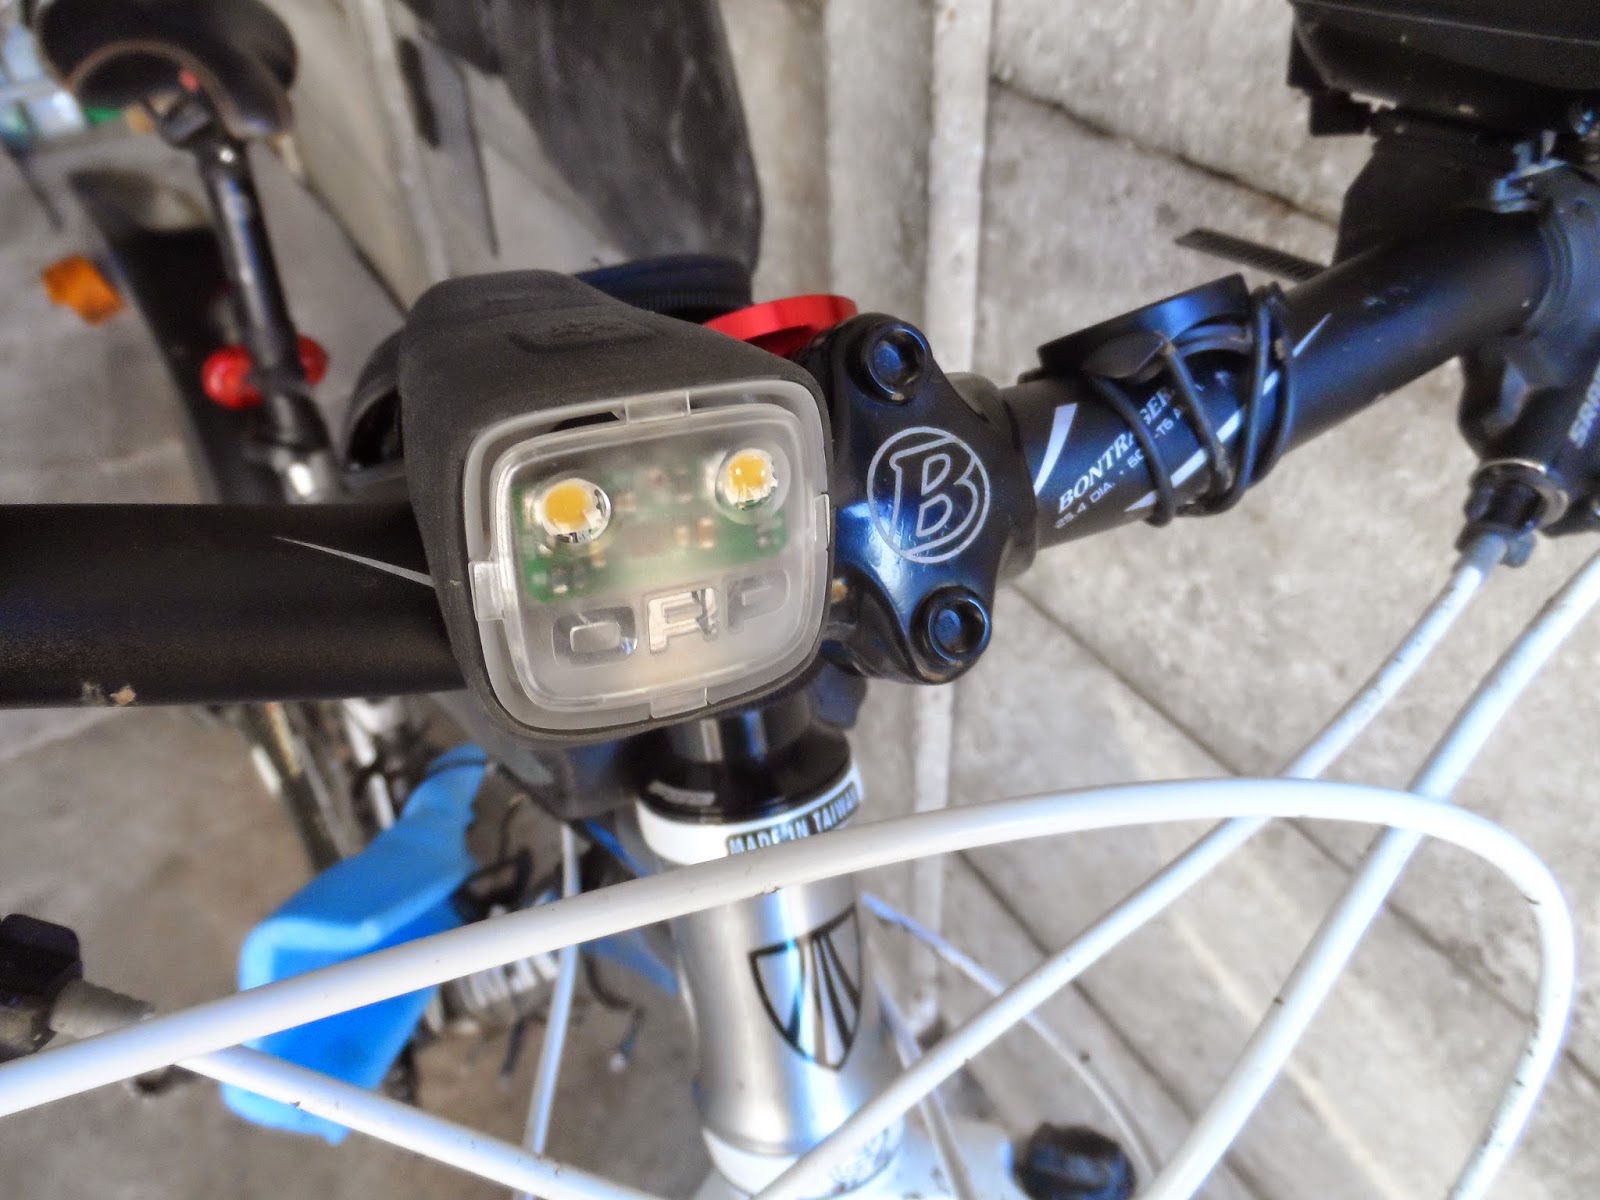
Fitting to you bike is easy, just pull the rear strap apart, and clamp the light around your handle bars in a position so as to get to the rear tail, and rejoin the strap.

You have 2 levels of noise from the ORP horn, one is known as a friendly noise at a level of 76dB, and secondly a much louder level of 96dB, both are sounded by either pressing the rear tail of the ORP, or pulling it upwards, by doing this the light will also go into strobe mode!

                                                                       ORP fitted
                          Rubber housing keeps it firm on the handle bars

https://www.youtube.com/watch?v=brfkJ7eZ-5E&feature=youtu.be

Here is a short video on the ORP smart horn

http://www.orpland.com/about/

Above is the ORP website

 Amazon link is here http://www.amazon.com/ORP-Smart-Horn-Light/dp/B00L3NJZQ8

All in all it's a great little light, not quite bright enough to be used as a full stand alone at night time, but good enough to have on flash during the day, and to use as a second night light, to use on or around dusk. Worth having on any bike though, even if it is just to alert the pedestrians and other cyclists there is a bike trying to get past them! also a perfect light/horn for a child's bike, as it is compact and unobtrusive.

And Finally their Face Book feed can be found here
https://www.facebook.com/OrpSmorn?fref=ts


UPDATE

We have just received the ORP Remorp!


Remorp!....... What is this you may ask? it is the new addition to the ORP Smart Horn family. To the layman, it's a remote control in it's simplest form...... one button.
This will allow you to operate your ORP simply with no need to take your hands off your handle bars, thus making it safer to operate whilst riding.


                                                                The REMORP                

In the box was the Remorp and a lead that needs to be connected to the ORP Smart Horn.

                                       Remorp connected to the ORP Smart Horn

                             The  Remorp is made out of some form of rubber
For the Remorp to work it needs to be connected to the ORP Smart Horn by the lead supplied, you will need to connect the female end on the ORP [on the right hand side under a small round tab], lift the tab to expose the slot for the male end to connect into, when you removing the Remorp lead, simply press the tab back into place, this will protect the ORP from the elements.

 The Remorp will fit both flat and upright handle bars, so should fit most bikes.
                                          Simply just plug the ORP Remorp in.
                                               Details for drop handle bar fitting

                                                        Side of the box!

 I found the best place for me was on the right hand side.
 ORP Mustache
 The ORP Remorp has a flattish type cable leading from the switch to the male end, I found this was ideal to allow tighter fitting around the handle bars

The Remorp remote switch fitted to the grip.

I found once connected the Remorp gave the ORP Smart horn became safer to operate, in that you can now operate the ORP Smart Horn with out taking your hands off the handle bars. The Remorp is a lovely and well thought out switch, so simple and very effective. To operate simply put your thumb gently on the Remorp button and give it a light push, and the Remorp kicks into life, activating the 76db noise with a flash of  light. Push the Remorp switch as little harder and it then  switches into the loud 96db noise with the light flashing away! Don't forget you will need to have the ORP Smart Horn turned on at the main switch for the operation to work, not forgetting to turn it off when not in use.  The Remorp fitted and plugged in, you are still able to work the tail light to the setting you need from the top main switch on the ORP Smart Horn.

OUR VERDICT

The ORP Smart Horn just got a bit smarter with the Remorp fitted to it, it takes to a whole new level, yes it is great to press or pull the main tail of the ORP, but we feel this is a much safer way to let people know you are in the vicinity!  


ORP Out on the road 


We have some great news on the ORP Smart Horn

We can now pass you a Discount Promo Code, so dont delay and check out the offer now! 

So go to the website now, and add this Promo Code for your discount,

ORP4HCG

Pick the colour Orp you would like, and at the check out just add the code, simple as that, for a great 20% Discount! 

Let us know here how you get on, if you order one, we may well try to get discount codes for other products.

ORP4HCG 
 
Does not apply to the Remorps as theses are discounted at the moment. 


Foot Note.... This is not a Paid Advertisement for ORP

LEZYNE KTV Pro New Range Cycle Lights Front and Rear Review

We start 2015 off with a review on a fantastic new range of lights from LEZYNE, these LED Cycle lights were released by LEZYNE in 2014, and a very impressive light range they have in the KTV range. The front light is a impressive 70 lumen, the reason I say impressive, is due of the size of the KTV, it's a small compact front light, and 70 lumen's is extraordinary for something of this size, the body is made out of a machined aluminum, which makes it a lightweight, robust and extremely weather-resistant light, the weight LEZYNE has it listed on it's spec sheet is at a measly 55g, so you will hardly notice it on your bike!

Model reviewed here will be the LEZYNE KTV Pro front safety light and also the rear 

The KTV Drive Front is available as a single front LED, or as a front/rear pair (KTV Drive Front and Rear). Plus it is available in other colours in the main body.Blue, Red, Silver, Black.


 Whats in the box.

There is good news and bad news !

The good news firstly, there is hardly any packaging, all the instructions and details re spec are printed on the cover, with a link to the LEZYNE website.


http://www.lezyne.com/product-led-sport-ktvpro.php#.VKe8X3tZqGU

The bad news, [on a personal level!]

The bad news is on the charging front, but this does not reflect on the quality of the LEZYNE KTV light, the lights do not come with a charging cable, it is charged using a USB stick, [ I personally prefer a cable charger, different strokes for different folks!]
At the bottom of the light is a cover which encases the USB stick thus keeping the stick dry and secure, this cover gets removed to expose the USB stick, which you plug into your PC or wall mounted charger.  I had a few other items on charge, and not having a cable seemed a little odd to me at first, I had trouble connecting the two KVT's into the USB slots on my laptop,and I was unable to charge up two side by side, as they were to wide, luckily enough I had a spare cable so this got me out of trouble, it just seems a lot of messing about for something as easy as charging up, maybe it is down to price that a cable is not supplied.  With the light plugged into the laptop USB slot, there is no room to connect a camera, if you need to upload photos etc at the same time, [who said men can't multi task!] I did try charging the rear light on a four into one USB hub, but found it would not charge unless it was plugged directly into the laptop.


Hopefully the charge situation will not put you off the KTV Pro,  LEZYNE have options for wall type charges on their website.
The real plus side in not having a cable, and the KTV's are charged with there stick from the rear cover, you will always have a way to charge them if you need to for the ride home, a very handy thing to have, 

                                                    Lights, straps and covers

Once charged up, which took around 4 hours for the red lights to turn green, it was a case of switch on and test and what a great surprise I had! it was brighter than my house security light, fantastic light coverage and would inspire any cyclist in the knowledge that they could see and be seen in the dark.

Front light the Pro is very clever in the way it pulsates, it has three flash modes! This caught me out, even though it is written on the packaging! I was not expecting it to be this good, the way it works is a very clever way in which LEZYNE have done it, it will certainly get you noticed that is for sure.

Press the top button once for Economy mode, this should give you 30 Lumen's and last for 2 hrs.
Press the button twice which gives you Blast mode, 70 Lumen's and 1 hour of use.
Press the button again (3rd time) goes into Flash 1 mode 30 Lumen's this should last for 6 hours.
Press the button again (4th time) goes into Flash 2 mode 30 Lumen's this should last for 6 hours.
Press the button again (5th time) goes into Flash 3 mode 30 Lumen's this will last for 6 hours.
Press the button again (6th time) goes into Pulse mode 30 Lumen's this will last for 4 hours.

As you can see from the chart, it should be alright on a commute ride, the pulse mode seems to be the way to go with this KTV light, and should last longer that way, it should also get you out of trouble if it is needed for a darker ride, just bear in mind the short staying power on full 70 Lumen mode, may be worth packing a spare light, for longer ride outs just in-case.

Mounting the LEZYNE is a very simple thing to do,in a very clever and well designed way, it comes with the usual rubber type strap that hooks round the seat post or handle bars, the main body of the KTV swivels which allows the clipping in of the silicon rubber strap which is a lot easier than some other makes of cycle lights, and a great deal less fuss!

                                                     KTV swivel

The light uses a silicon rubber strap band  to attach conveniently to your bike, or can be mounted to a seatbag or backpack using the integrated clip on system
                                                 KTV side position

Simply swivel the KTV and place the silicon rubber strap into the mounting bracket, you are then done just adjust the KTV to any position you want to for your ride, plus side is the endless ways you can mount the lights, seat bag, rucksack,etc etc.


                                        Easy on off fitting to the handle bars
                                                    Nice and bright

Front light is also fitted in the same way.

                                       The LEZYNE KTV still worked in minus temperatures, always good to know, in those longer winter nights!
All in all, a terrific set of lights from LEZYNE, our favorite was the front one, with all its many settings, be crazy not to have one on your list for Christmas/ Valentines Day/ Easter/Birthday or just treat your self on Pay day!


If you have you any questions for the chaps at LEZYNE, Give there twitter feed a follow at
https://twitter.com/LezyneUK

https://twitter.com/Lezyne

Facebook page

https://www.facebook.com/lezyne

Main website with a lot more info etc

http://www.lezyne.com/

See your local cycle shop for a stock of theses great KTV lights

In and around the Harlow area, check out https://www.facebook.com/leevalleycycles?fref=nf for a set. 


Integrated USB sticks can be plugged into a computer or wall outlet adapter for convenient and fast recharging of LED lights.


Foot Note This is not a Paid Advertisement for LEZYNE Cycle products

K-EDGE Garmin Adjustable Stem Mount Review

                                  K-EDGE Garmin Adjustable Stem Mount Review


                                                           From the USA.

We will be reviewing the Garmin adjustable stem mount from a company in the USA called K-EDGE,
A little quick intro on how the name K-EDGE came about.

http://www.acecosportgroup.com/our-story

For those of you that do not wish to click the link and read their story, here is a quick run down on it!
The story began when Joe Savola's wife [Olympic Cyclist with Team USA] Kristin Armstrong,  dropped a chain during the Beijing Olympic Time Trial, Joe Savola decided to help her, so she wouldn’t miss out on her chances of winning a Gold Medal.
http://www.aceco.com/  
http://www.kristinarmstrongusa.com/

Joe loved a challenge and so two weeks later, Kristin Armstrong had the chain stay fitted to her bike and went on to win a Gold Medal! in Beijing.
The following spring, Pro Tour Team Garmin-Slipstream called asking for 45 of the “Kristin’s Edge Chain Catchers,” for Paris Roubaix, the story of this product got took up by Velo News, who ran the story, and the rest as they say is history!

What I am saying is that the Precision that Ace Co made with that first chain catcher still lives on now with K-EDGE Products, and if you check out there website, you will find they have got some pretty good mounts, not only for Garmin, but also for Go-Pro as well, but we are looking at the K-EDGE Garmin Adjustable Mount.

The mount looked like a well designed sturdy piece of aluminum, it seemed to be well made and this mount can be used with any of The Garmin 200, 500, 510, 800, 810, 310XT cycle computers.

How easy was it to fit.

                                                            Remove top cap

We found it a very easy accessory to fit, simply remove the top cap, and place the K-EDGE mount on to the top stem, [make sure the bolt is long enough] and tighten to the required amount of torque. Fitting instructions and technical details can be found here on this link

http://www.acecosportgroup.com/techni

                                                                Bolt Cap Mount
                                                      Cap removed

                                          Bolt Cap Mount all in place!
                                                     Adjustable angel
                                              Alan Key allow for the tightening
                               Garmin fitted, centered  where you need it!


 Our Verdict on the K=EDGE Garmin mount.

The mount looks a very nice piece of kit, solid, well designed, and holds the Garmin nice and firm as it should, it is easy to fit to your stem. We had no problems fitting it and although you could take it to your our local bike shop just to make sure it is fitted securely if you are not confident, we did not need to replace the above the stem spacer.
We test drove this attached to a mountain bike, and as they say it did what it said on the label, it was secure and was not intrusive, unlike some mounts it didn't need adjusting after hitting a few ruts and bumps.
Only thing we could really comment on, and that is where the mount sits on the top stem, we feel  maybe over time it may mark or scratch the stem.


Nice Mount, will let you know if we get any problems with it, after it has been attached to the bike for more that a few weeks, if you fancy one yourself, check out the link below.

UK stockist are Madison http://www.madison.co.uk/

Own a bike shop, fancy stocking the K=EDGE then try this link it will tell you your nearest stockist.

http://www.acecosportgroup.com/distributors

Paid a visit to our local cycle shop to check with them if the K=EDGE was fitted right,  I found out there were too many spacers fitted to the headset, so I let Lee Valley Cycles work his magic and allowed him to fit the K-EDGE for me, that way I knew it would be right!                                          ( https://www.leevalleycycles.co.uk/ )

This is the correct way to fit the K=EDGE Mount, the tube extending a small way to place the mount on top, and then the cap.

 Thicker spacer replaced with a thiner one, around 50p from your local cycle shop

Photo showing the smaller spacer in position


Just a simple case of replacing the head c and tightening up the bolt

A Big thank you to Lee Valley Cycles and to Madison UK in the helping with this review.


Foot Note This is not a Paid Advertisement for K-EDGE or Madison UK


tooocycling TOOO Cycling™ DVR80 Model Bicycle Lamp Camera

TOOO Cycling™ DVR80 Model Bicycle Lamp Camera https://www.tooocycling.store/products/tooo-cycling%E2%84%A2-dvr90-model-bicycle-lamp-camera-f...